Best video conference equipment for Modern Learning
- MEDIAL

- Apr 14
- 14 min read
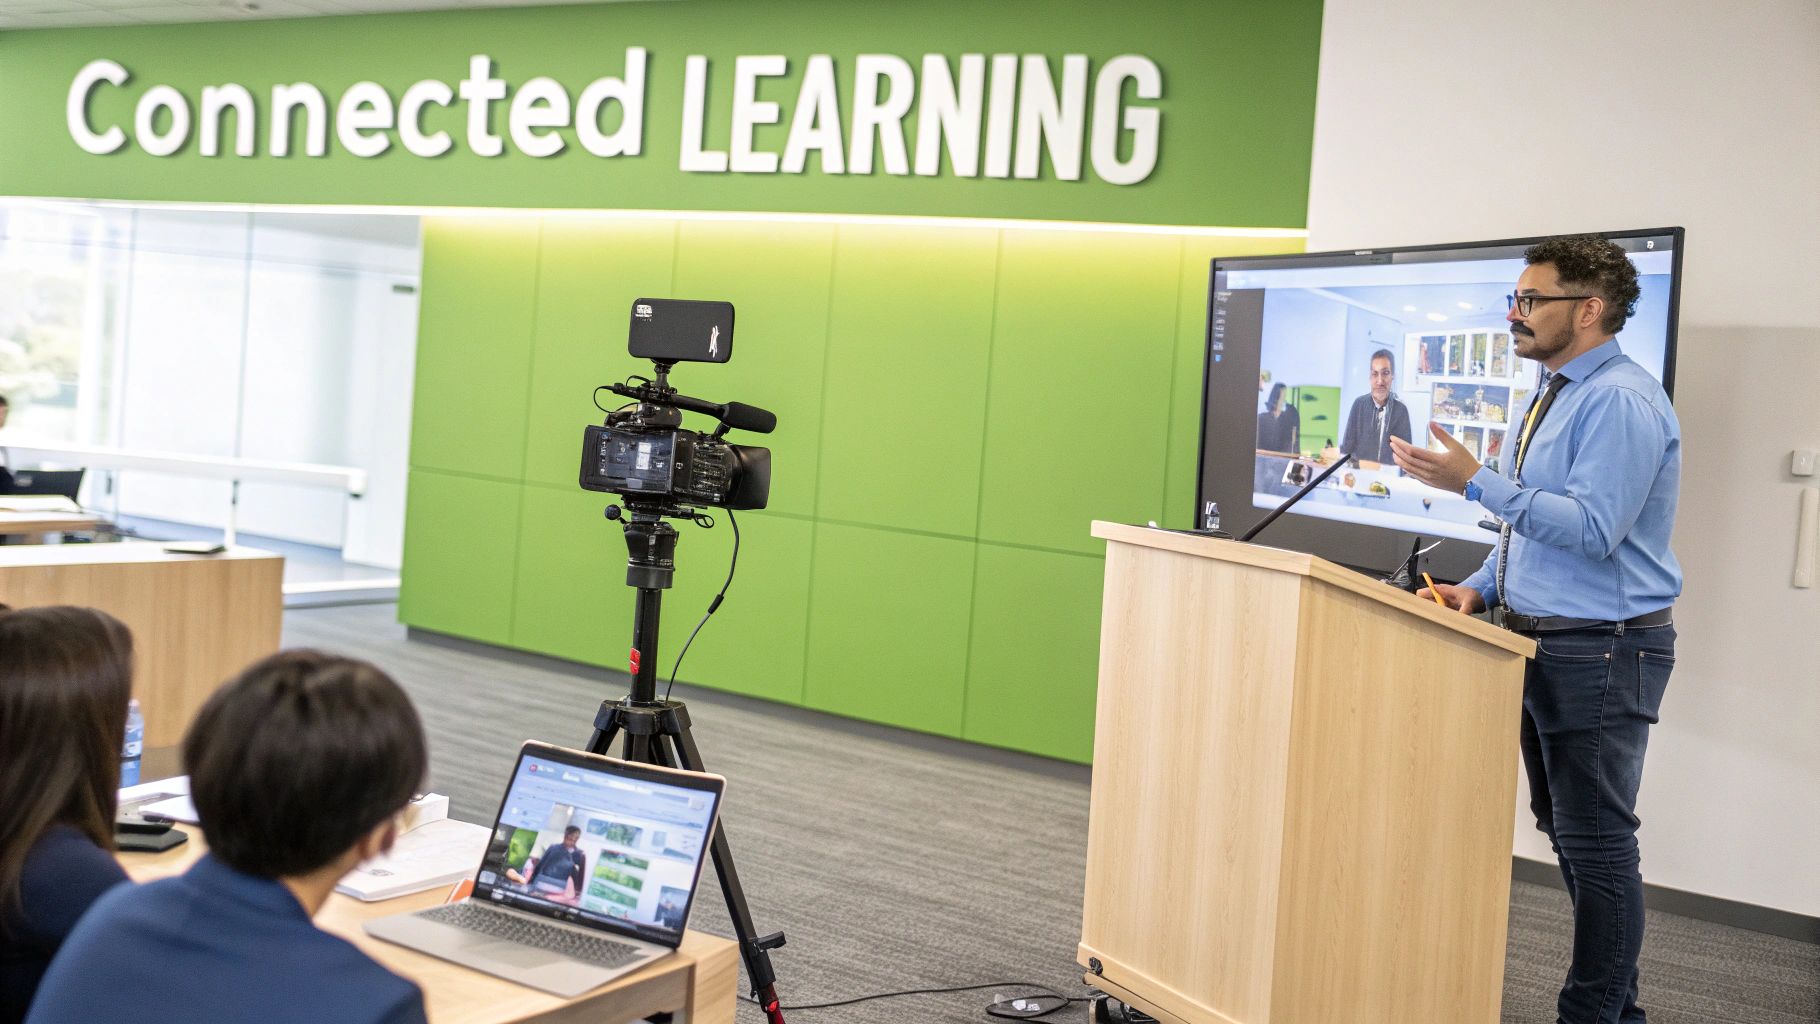
Choosing the right video conference equipment isn't just about plugging in some hardware. It’s about building a learning environment that feels connected, immersive, and fair for everyone involved. For example, a good setup ensures a remote student can hear a question from the back of the classroom just as clearly as the person sitting in the front row. It closes the distance, turning a passive viewing experience into genuine, active engagement.
Why the Right Equipment Is a Game Changer
Think of your equipment as the central nervous system of your learning space. When it works, ideas flow. When it fails, the whole experience grinds to a halt. We’ve all been in meetings with dodgy audio, grainy video, or clunky software. The result is always the same: frustration, disengaged learners, and a missed opportunity to teach effectively.
This goes beyond technical specs; it’s about the human experience. High-quality video allows remote students to see a lecturer's non-verbal cues, while crystal-clear audio ensures they don't miss a critical detail. This focus on inclusivity is key to creating an equitable atmosphere where every student has the same chance to contribute and succeed.
From a Call to a Classroom
The goal is to move beyond a simple video call and build a dynamic, interactive virtual classroom. This requires a cohesive ecosystem where every piece of kit works in harmony. For instance, a purpose-built solution that integrates hardware with a platform like MEDIAL can automate complex tasks. This transforms a pile of devices into an intelligent system that can:
Boost student engagement by making interactions feel natural. An actionable example is using a PTZ camera to zoom in on a student asking a question, making remote participants feel included in the conversation.
Improve knowledge retention with high-fidelity recordings and clear content, allowing students to review complex topics with perfect clarity.
Increase accessibility for learners, no matter their location or individual needs, through features like automated captioning on recorded lectures.
A well-designed video conference setup doesn't just transmit information; it fosters connection. It ensures that nuance, body language, and the subtle dynamics of a live discussion are preserved, making the digital experience feel genuinely human.
The Growing Demand for Quality
The shift towards hybrid models has sent the demand for reliable video solutions soaring. The UK video conferencing market, valued at USD 598.2 million, is projected to nearly double by 2033. This isn't just a number—it highlights an urgent need for tools that deliver engaging experiences without technical headaches. You can read more about the UK video conferencing market growth for more context.
This guide is your practical roadmap. We’ll provide actionable insights on how to select, integrate, and maintain the ideal video conference equipment for your specific learning environment, helping you build the perfect setup from the ground up.
Getting to Grips with Your Core Tech Toolkit
Putting together an effective hybrid learning space starts with nailing the hardware. Think of your video conference equipment like a film crew, where each member has a vital role. When the camera operator, sound engineer, and director (your software) work together, you create a seamless experience for everyone.
Let's break down the essential tech that powers any modern learning environment, with practical advice on how each piece contributes to a successful session.
The Eyes of the Room: Cameras
The camera is the ‘eyes’ of your virtual classroom. Its job is to give remote participants a clear, dynamic view that makes them feel present. The right choice hinges on your room size and teaching style.
Webcams: The simplest option, perfect for an individual's desk or a small huddle space for 2-3 people. A practical example is the Logitech Brio, which offers 4K resolution and is a simple plug-and-play device. Its limitation is a fixed view, making it unsuitable for rooms where the speaker moves around.
PTZ (Pan-Tilt-Zoom) Cameras: The standard for medium to large rooms. These can be controlled remotely to pan across a room, tilt up and down, or zoom in on a whiteboard. Actionable insight: Pre-program camera presets for key locations like the lectern, the main whiteboard, and a wide view of the audience. This allows a presenter to switch views with a single button press.
The Ears of the Room: Microphones
If the camera is the eyes, the microphone is the ears—and poor audio is far more disruptive than poor video. The goal is to capture clear speech without distracting background noise like shuffling papers or air conditioning hum.
Key Takeaway: Audio quality is non-negotiable. Learners will forgive a grainy video feed, but they will tune out in a heartbeat if they can't hear the discussion clearly. Actionable insight: Always perform a test recording in the room and listen back with headphones to catch any echo or background noise you might not notice otherwise.
Common microphone types include:
Boundary Microphones: Sit on a table and are great for small group discussions. Practical tip: Place them on a felt pad to reduce vibrations from keyboard typing or pen tapping.
Ceiling Microphones: Installed overhead, these offer a clean, out-of-the-way solution. They use "beamforming" technology to focus on whoever is speaking, which helps filter out ambient noise. They are a great choice for flexible room layouts.
Wearable (Lavalier) Microphones: Clipped onto a speaker's clothing, these provide the best audio quality for the main presenter. Actionable tip: Always have a spare set of batteries on hand and show presenters how to properly clip the mic about 6-8 inches below their chin to avoid muffled sound.
Bringing It All Together: Displays and Lighting
Your display is the window through which in-room participants see remote colleagues. Practical advice: For rooms larger than a small huddle space, use dual displays—one for remote participants and a second for shared content like presentations. This avoids the "postage stamp" problem where people's faces are too small to see.
Lighting is the unsung hero. Bad lighting makes even the best camera look unprofessional. Actionable insight: Avoid placing the main speaker in front of a bright window, as this will turn them into a silhouette. Instead, position soft, diffuse lighting in front of them. A simple pair of LED panel lights can dramatically improve image quality.
Ultimately, each piece of your kit needs to support the others. Consider how these tools fit into a broader Unified Communications (UC) strategy to create a cohesive workflow. When your camera, microphone, and software are in sync, the technology fades into the background, allowing learning to take centre stage.
For a deeper dive into the software side, you might find our guide to choosing your video platform for education helpful.
Matching Equipment to Your Learning Space
Choosing the right video conference equipment isn’t about buying the most expensive gear. It’s about a targeted investment that fits the specific space. A setup perfect for a small training room will fail in a large lecture theatre.
There's no one-size-fits-all solution. Start by assessing your primary use case—how big is the room, how many people will use it, and what is the teaching style? Let these answers guide your hardware decisions for a practical, budget-friendly setup.
The Solo Instructor or Small Huddle Room
For an individual's office or a huddle room for 2-4 people, simplicity is key. The goal is a professional setup without the cost or complexity of a large system.
Entry-Level (£100 - £300): A high-quality webcam like a Logitech Brio and a separate USB microphone like a Blue Yeti will deliver excellent results. This combo provides sharp video and crisp audio, a massive step up from a laptop's built-in hardware.
Mid-Range (£300 - £800): Consider an all-in-one video bar like the Logitech MeetUp. These units combine a 4K camera, microphone array, and speaker into one device, reducing cable clutter. Practical benefit: Their wider field of view ensures everyone at a small table is in the frame without having to huddle together.
Professional (£800+): At this level, you could pair a top-tier webcam with a dedicated audio processor and a small, high-quality display. This focuses on flawless audio and video for high-stakes presentations or recordings.
The Medium-Sized Classroom or Training Room
In a space for 10-20 people, a simple webcam won't cut it. You need to capture audio and video across a larger area, often with a moving instructor.
When planning, consider the room's acoustics. Actionable tip: If the room is echoey, adding soft furnishings like rugs or acoustic wall panels can significantly improve audio quality. Some institutions are also rethinking shared spaces with freestanding booths and pods for quiet group work.
A key principle for medium rooms is flexibility. The equipment must adapt, whether the focus is on a speaker, a group discussion, or a whiteboard. This is where Pan-Tilt-Zoom (PTZ) cameras begin to shine.
Entry-Level (£800 - £2,000): A single PTZ camera combined with several boundary microphones on the main table is a solid start. This lets you direct the camera while ensuring everyone can be heard.
Mid-Range (£2,000 - £5,000): An all-in-one video bar for medium rooms, like the Logitech Rally Bar, is a great option. Its beamforming microphones automatically focus on the speaker, making it feel like a professionally produced session without needing a technician.
Professional (£5,000+): This setup would involve a high-end PTZ camera, ceiling-mounted microphones to keep tables clear, and dual displays. Practical advantage: This creates a more natural experience, as participants don't have to choose between seeing their remote colleagues and the shared presentation.
This decision tree offers a simple way to think about your camera choice.
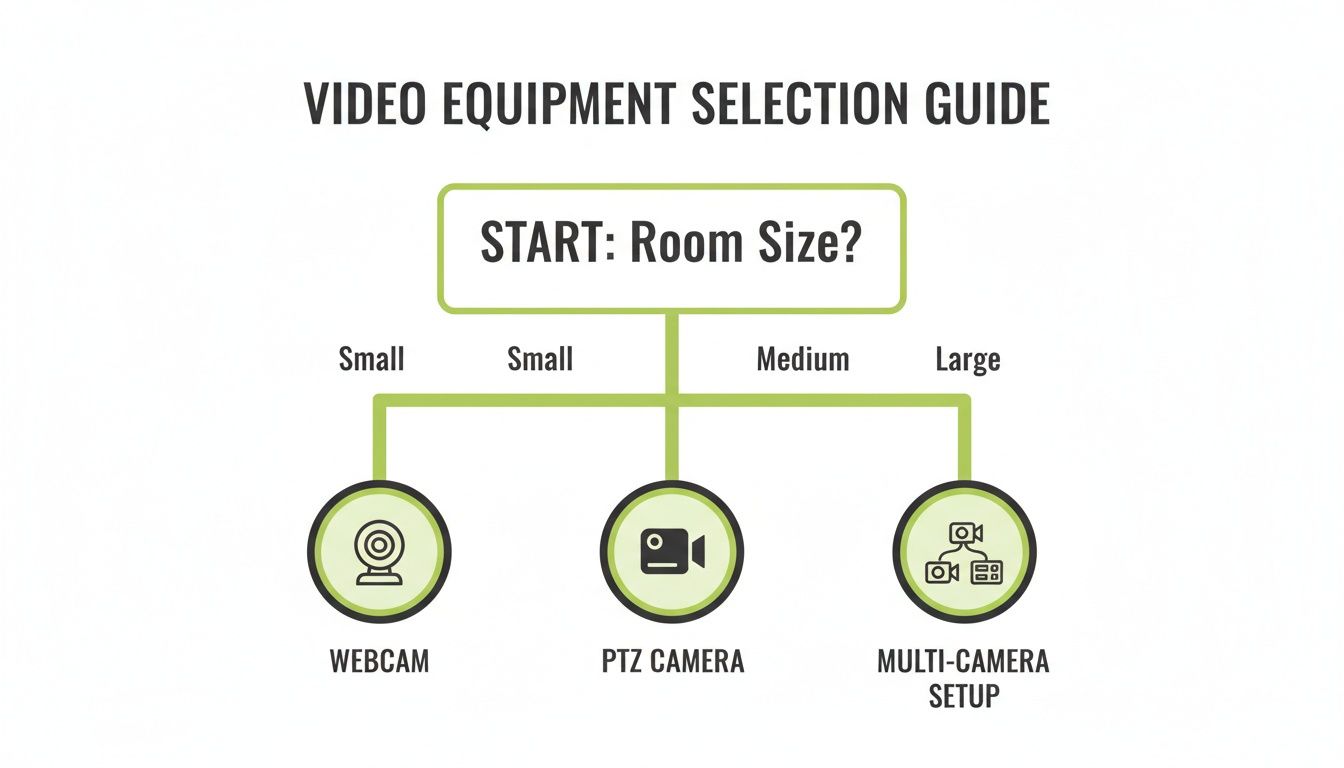
As you can see, the bigger the space, the more capable your camera technology needs to be.
The Large Lecture Hall or Auditorium
In a space with over 20 people, a single camera can't create an engaging experience. The challenge is capturing the presenter, the audience, and any presentation materials clearly, making remote viewers feel like they have the best seat in the house.
Entry-Level (£5,000 - £10,000): A two-camera PTZ setup is a good starting point. One camera focuses on the presenter, and a second captures the audience. A wearable lavalier microphone for the speaker is essential, with ceiling mics for audience Q&A.
Mid-Range (£10,000 - £25,000): This involves a multi-camera system with a dedicated video switcher, allowing a technician to cut between shots. Actionable insight: For a more engaging stream, you can use a picture-in-picture layout showing the presenter alongside their slides. For educators on a tighter budget, it's worth exploring creative alternatives; check out our guide on how to use an iPhone as a high-quality webcam for supplementary camera angles.
Professional (£25,000+): This is a broadcast-quality setup with multiple auto-tracking PTZ cameras, a sophisticated audio system with digital signal processing (DSP) to eliminate echo, and integration with a room control system for one-touch operation.
Here's a quick summary of these recommendations by room type.
Video Conference Equipment Recommendations by Room Type
Room Type / Scenario | Recommended Camera | Recommended Microphone | Key Considerations | Estimated Budget Tier |
|---|---|---|---|---|
Solo Instructor / Huddle Room | High-quality webcam (e.g., Logitech Brio) or all-in-one video bar | USB microphone (e.g., Blue Yeti) or integrated in video bar | Simplicity, ease of use, and compact size are crucial. Avoid overspending. | £100 - £800+ |
Medium Classroom / Training Room | PTZ camera or medium-room video bar (e.g., Logitech Rally Bar) | Boundary mics, ceiling mics, or integrated beamforming mics | Flexibility is key. Needs to capture a moving speaker and group discussion. | £800 - £5,000+ |
Large Lecture Hall / Auditorium | Multi-camera PTZ system with auto-tracking | Lavalier mic for speaker + ceiling mic array for audience | Must capture multiple views (speaker, audience, content) for an engaging remote experience. | £5,000 - £25,000+ |
Ultimately, the goal is to create a seamless and reliable experience. The best equipment is the kind that fades into the background, letting the teaching and learning take centre stage.
How to Weave Your Hardware and Software Together
Great video conference equipment is only half the story. To unlock its full potential, you must bridge the gap between your physical hardware and your digital learning ecosystem. This integration transforms a collection of devices into a smart, automated system that just works.
Think of your hardware as an orchestra. Your software—platforms like MEDIAL, your Learning Management System (LMS), and tools like Zoom or Teams—is the conductor, ensuring every component performs in perfect harmony.
Connecting Your Gear to Your Digital Campus
The first step is getting your hardware talking to your central software platforms. This automates clunky manual tasks, saving educators time and effort. The goal is to make the technology so seamless it becomes invisible.
A key link is between your capture appliance—a device that converts camera and mic feeds into a digital format—and your LMS. When integrated properly, it does much more than just record.
Automatic Recording and Uploading: For instance, you can schedule a lecture in your LMS, and the capture device will automatically start recording at the scheduled time. Afterwards, it uploads the video directly to the correct course folder in Moodle, Canvas, or Blackboard.
Metadata Tagging: The system automatically tags the recording with the course name, lecturer, and date, making it easy for students to find and review later.
This image shows how a platform like MEDIAL acts as a central hub, connecting your LMS with various video sources.
The real magic is the seamless flow of information. An educator manages everything from within their familiar LMS environment, without having to juggle complex systems.
Using Zoom and Teams for Live Sessions
For real-time learning, getting your room system to play nicely with platforms like Zoom and Microsoft Teams is a must. Most modern video conference equipment offers a "one-touch-join" experience. An instructor walks into a room, sees their scheduled meeting on a touch panel, and starts the session with a single tap.
But the integration goes deeper, creating a powerful, automated content pipeline:
Scheduling: An educator schedules a lecture in their LMS calendar.
Automation: The system automatically creates a matching Zoom or Teams meeting and sends invitations.
Live Streaming and Recording: The platform can simultaneously stream the live event and record it.
Post-Processing: After the session, the recording is automatically processed, including generating AI-powered captions for accessibility.
Distribution: The final recording is placed in the correct MEDIAL channel or LMS course for students to watch on demand.
This workflow removes the technical headache. Instead of manually uploading massive files, educators can focus on teaching, confident that the technology is handling the logistics.
A Practical Integration Example
Imagine a lecturer, Dr. Evans, teaching a hybrid biology class. Her lecture theatre is equipped with a PTZ camera, ceiling mics, and a capture appliance, all linked to the university's Canvas LMS through MEDIAL.
The IT team schedules her lectures in Canvas, which automatically creates recurring Teams meetings. When Dr. Evans enters the hall, she taps "Start Meeting" on the room's control panel. The camera focuses on the lectern, the mics activate, and the session begins streaming and recording.
After the lecture, the recording is automatically sent to MEDIAL, where it's captioned and appears in the 'Week 5' module of her Canvas course. Students can watch it that same afternoon. This entire process happens without Dr. Evans ever having to manually record, convert, or upload a single file. For more ideas, you can learn about building a budget-friendly lecture capture system with Microsoft Teams and your LMS. That is the power of seamless integration.
Future-Proofing Your Technology Investment
Buying new video conference equipment is about making a smart investment that will pay off for years. To avoid ending up with an expensive paperweight, you need to think strategically about compliance, security, and scalability from day one.
This isn't just about buying a gadget; it's about investing in sustainable infrastructure that can grow with you, adapt to new standards, and meet legal requirements.
Navigating Compliance and Data Security
In any learning environment, you're handling personal data. Your video conference gear must comply with strict data protection rules like General Data Protection Regulation (GDPR) to avoid significant fines and reputational damage.
Actionable Insight: When speaking to vendors, ask these specific questions: "Where is our data physically stored?" "What security certifications, like ISO 27001, do you hold?" "Can you provide a copy of your Data Processing Agreement?" A trustworthy partner will provide clear, confident answers.
Here are other security measures for your checklist:
End-to-End Encryption (E2EE): This ensures only meeting participants can see or hear what’s happening, which is critical for sensitive discussions.
Secure Firmware Updates: Choose manufacturers with a strong track record of providing timely security patches.
Network Security: Ensure the equipment supports protocols like 802.1X for authenticated network access to prevent unauthorized devices from connecting.
Prioritising Accessibility for All Learners
A truly inclusive environment allows everyone to participate fully. Future-proofing your tech means baking accessibility in from the start, which is often a legal requirement.
Essential Accessibility Features to Look For:
High-Contrast Interfaces: Control panels and on-screen menus must be easy to read for users with visual impairments.
Support for AI-Generated Captions: Live and post-session captioning is a lifeline for participants who are deaf or hard of hearing.
Compatibility with Screen Readers: Software interfaces must work flawlessly with screen reader technology.
Simple Physical Controls: Hardware should have tactile buttons and an intuitive layout.
By prioritising these features, you create a more equitable environment and ensure your investment serves every learner.
Choosing Scalable and Interoperable Hardware
The final piece of future-proofing is picking equipment that won’t trap you in a single ecosystem. Tech moves fast; the hardware you buy today needs to work with the software of tomorrow. The keywords here are scalability and interoperability.
Scalability means the system can grow with your needs. A practical example: The Logitech Rally system allows you to start with a video bar and add extra microphone pods later if you move it to a larger room, protecting your initial investment.
Interoperability means playing well with others. Look for hardware built on open standards like SIP and H.323. This allows it to connect with a wide range of other systems, preventing vendor lock-in and giving you the freedom to adapt as your organisation evolves.
Your Essential Pre-Launch and Maintenance Checklist
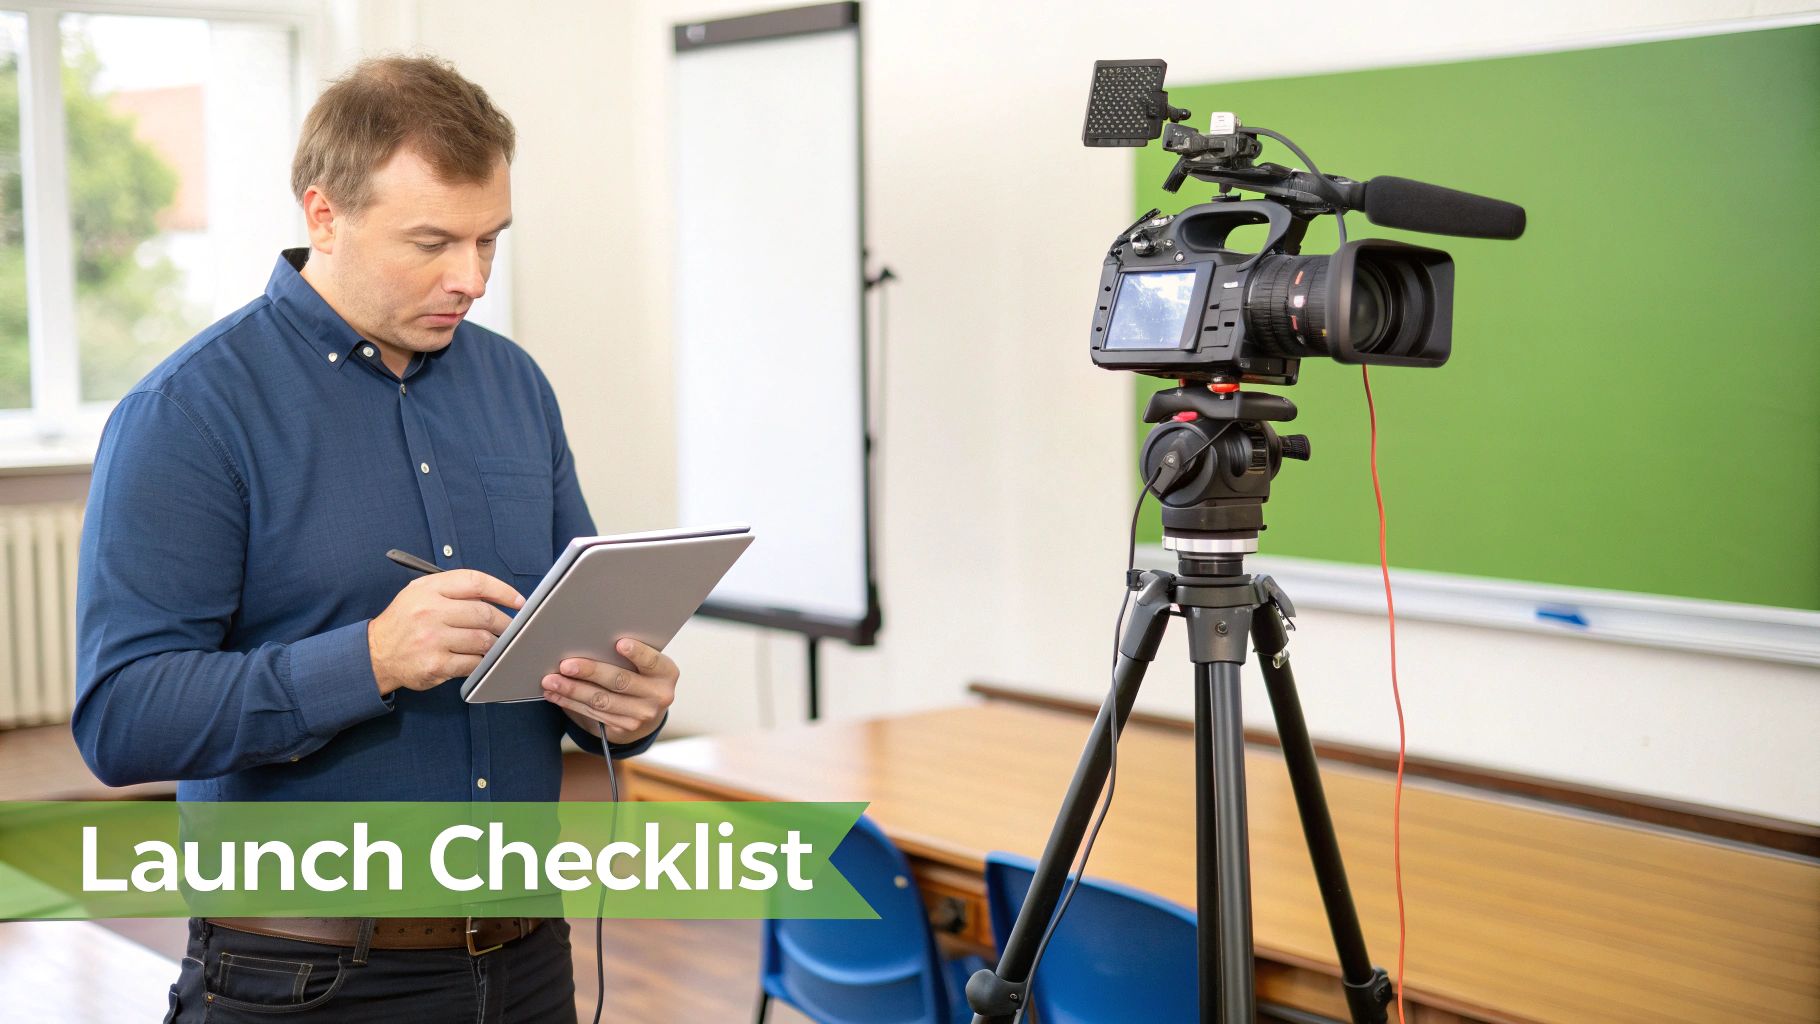
Your new equipment is installed. What's next? A solid plan for testing and maintenance is what separates a smooth launch from a series of frustrating tech glitches.
Breaking this down into phases—before, during, and after a session—transforms a complex job into a simple, repeatable routine. This is about laying a reliable foundation for great teaching.
Phase 1: Pre-Launch Testing
Before the system goes live, it needs a thorough shakedown. This is your chance to catch any issues in a low-pressure environment. Think of it as a full dress rehearsal.
A common mistake is testing components in isolation. You need to verify that everything works together as a complete system.
Key Pre-Launch Checks:
Audio Verification: Start a test call and have someone walk around the room while talking. Listen for audio dead spots, echoes, or background hum. Actionable step: Ask them to sit in various student seats to ensure the microphones pick up voices clearly from all locations.
Camera and Framing: Program and test your PTZ camera presets for the lectern, whiteboard, and audience. If you have auto-tracking, have someone walk around like a real presenter to check if it follows them smoothly, without jerky movements.
LMS and Software Sync: Run a complete workflow test. Schedule a dummy lecture in your LMS, confirm it appears on the room's control panel, start the recording, and verify the finished video file lands in the right course folder in MEDIAL.
Phase 2: Go-Live Day Actions
On the day of the first live session, a quick final check can prevent last-minute panic. This isn't a full system test, just a quick confirmation that everything is ready.
A smooth first experience is critical for user adoption. If an instructor’s initial session is plagued by tech problems, they’ll be reluctant to use the system again. A final check is your best insurance against this.
A simple, five-minute pre-flight check is all it takes. Practical tip: Have a support contact on standby for the first few sessions, either in the room or on a direct line, ready to assist if anything unexpected happens.
Phase 3: Ongoing Maintenance and User Empowerment
Consistent care keeps your gear performing at its best. A proactive maintenance schedule is more effective than waiting for something to break.
Your Regular Maintenance Routine:
Clean Equipment Monthly: Dust and fingerprints on a camera lens can make your video look blurry. Gently wipe lenses with a microfibre cloth and dust microphone grilles to keep audio crisp.
Check for Firmware Updates Quarterly: Manufacturers release updates that patch security holes, fix bugs, and add new features. Set a calendar reminder to check for and install these updates.
Create Simple User Guides: Empower instructors with a one-page "quick start" guide for each room. Actionable content: Include screenshots and simple instructions for starting a session, adjusting camera angles, and troubleshooting common issues like "no one can hear me." This dramatically reduces support calls.
Your Learning Technology Questions Answered
When diving into video conferencing equipment, a few questions always come up. Here are answers to the most common ones we hear from educators and administrators.
What Is the Single Most Important Piece of Equipment to Invest in First?
This might surprise you. While we love crisp video, it's actually high-quality audio that is the foundation of good communication. Your audience will tolerate a slightly grainy video, but they'll disengage in seconds if they can't hear you clearly.
Start by investing in the best microphone solution for your space. This could be a professional USB mic for a single presenter or a ceiling microphone array for a classroom.
Key Insight: Audio trumps video every time. An audience will forgive a fuzzy camera, but they will absolutely abandon a session with crackling, inaudible sound. Prioritise your microphone investment above all else.
How Do I Ensure New Equipment Is Easy for Non-Technical Staff to Use?
Focus on intuitive design and automation. Look for "one-touch-join" systems and hardware that integrates with the tools your team already uses, like your LMS and calendar. Simplicity is crucial for adoption.
When a platform like MEDIAL is integrated with an LMS, instructors manage recordings from an interface they already know. Actionable tip: Host short, 30-minute "lunch and learn" training sessions to demonstrate the new system in a relaxed, hands-on environment.
Do I Really Need a Dedicated Capture Appliance for My Classroom?
It depends on your goals. For a simple, single-camera stream from a computer, a direct USB connection might suffice.
However, a dedicated capture appliance is a game-changer for multi-camera setups or when pulling in content from other sources, like a document camera. It offloads the heavy processing work from the computer, leading to higher-quality, more reliable recordings and reducing the risk of your main computer crashing mid-session.
Ready to build a learning environment where the technology just fades into the background? MEDIAL offers an AI-powered platform that integrates with your existing LMS, automates workflows, and makes managing video content simple for everyone. Schedule your personalised demo today!
Comments