Recording a Meeting A Practical Guide for UK Educators
- MEDIAL

- Dec 8, 2025
- 13 min read
Hitting the record button is the easy part. The real work in creating a useful, high-quality meeting recording happens long before the session even starts. Getting it right involves a bit of prep, but it ensures everything you capture is compliant, clear, and professional.
Think of it as a three-part process: sorting out the legal side, getting clear consent from everyone involved, and then, finally, nailing your audio and video setup.
Preparing for a Flawless Meeting Recording
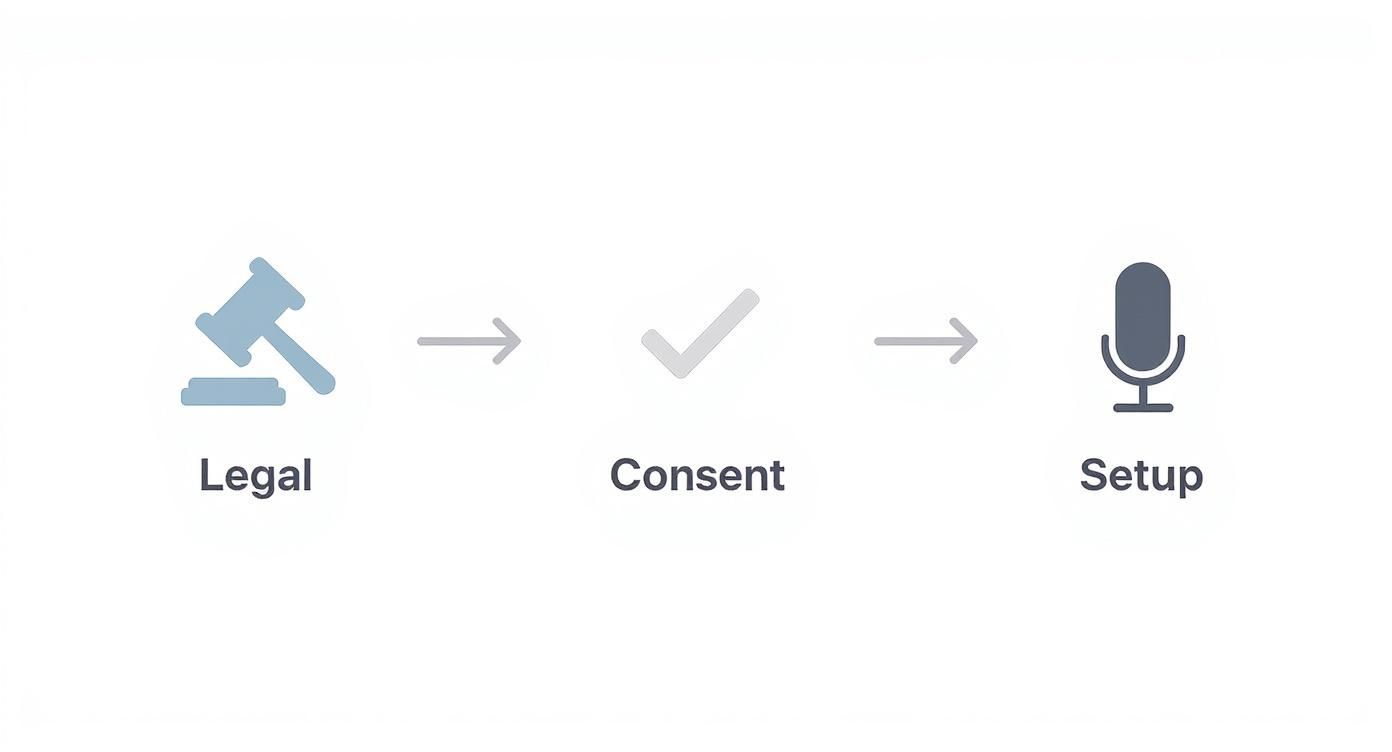
Before you even touch any tech, your first stop has to be the legal and ethical considerations. In the UK, recording a meeting without consent isn't just bad form; it can land you in hot water with privacy laws like GDPR.
This isn't just about ticking boxes to avoid fines. It's about building a foundation of trust with your students or colleagues.
Always kick things off by telling participants the session will be recorded. For a practical approach, add a line to your meeting invitation like, "Please note: this session will be recorded for training purposes and shared internally." Then, reiterate it verbally at the start. You need to explain why (e.g., for colleagues who can't attend live or for students to use as a revision aid) and give them the details on how it will be used and stored. Getting explicit, informed consent is an absolute must.
A simple, upfront statement at the beginning of the meeting is all it takes. Something like: "Just to let everyone know, this session is being recorded to provide a resource for revision. If you have any concerns, please let me know now." This simple act covers your responsibilities and sets a professional, transparent tone.
Optimising Your Audio and Video Setup
Once you've sorted the permissions, you can shift your focus to the technical setup. Let's be honest: poor audio is the quickest way to make a recording completely useless. You don't need a professional studio, but a decent USB microphone is often a massive step up from your laptop's built-in mic.
To get the best possible sound, here are a few practical tips:
Find a quiet room. This sounds obvious, but background noise from traffic, pets, or family members can be incredibly distracting. If your dog starts barking, don't ignore it—hit the mute button until it's quiet.
Position your mic correctly. A good rule of thumb is to place it about 6-12 inches from your mouth and slightly off to the side to avoid picking up harsh breath sounds ("plosives").
Do a quick test. Before everyone joins, take five minutes to record yourself saying, "This is a test of my audio for the 10 am meeting." Play it back to check your audio levels. That quick check can save you from discovering an hour of unusable audio later on.
For video, the two things that make the biggest difference are good lighting and a clean background. Always try to face a light source, like a window, rather than having it behind you—otherwise, you'll just be a silhouette.
A simple, uncluttered background keeps the focus where it should be: on you and what you're saying. A quick tidy-up or even a professional-looking virtual background can make a huge difference. Finally, make sure your camera is at eye level. Stacking a few books under your laptop is a simple, no-cost way to achieve this.
Choosing and Mastering Your Recording Platform

Once your setup is optimised, the next step is getting comfortable with your recording software. The platform you use for recording a meeting can dramatically shape the final outcome, so knowing its strengths and weaknesses is key to creating a professional resource.
Most educators in the UK are familiar with tools like Zoom and Microsoft Teams. Their widespread adoption isn't surprising, given the boom in remote collaboration. In fact, the UK video conferencing market generated approximately £475 million in 2024 and is projected to more than double by 2033, driven largely by the shift towards hybrid work and learning models.
This growth means platforms are constantly evolving, but their core recording functions often have subtle but important differences. Understanding these nuances helps you choose the right tool for the job. You can explore a deeper comparison of video platforms specifically for education to make an informed decision: https://www.medial.com/post/choosing-your-video-platform-for-education.
Cloud vs Local Recording: What to Choose
One of the first decisions you'll make is where to save your file. Should you record to the cloud or directly to your computer (local recording)? The answer depends entirely on your needs.
Local Recording:
Best for: Quick, simple recordings where you need immediate access to the file for editing.
Pro Tip: This is ideal for recording a short welcome video for a course module. You can record it, trim the ends quickly, and upload it to your LMS without waiting for cloud processing.
Caution: Relies on your computer's resources and internet stability. A sudden crash could corrupt the file.
Cloud Recording:
Best for: Longer sessions, collaborative meetings, and when you need automated features like transcripts and easy sharing via a link.
Pro Tip: When recording a guest speaker session, cloud recording is the safer bet. It frees up your computer's processing power and automatically generates a shareable link and transcript, saving you significant time.
For mission-critical recordings like a final student presentation or a mandatory training session, always opt for cloud recording. The built-in redundancy and processing power offer a vital safety net that a local recording simply can't match.
A Quick Platform Comparison
Choosing the right platform often comes down to specific features that support your teaching style. While Zoom and Teams are excellent for live meetings, a dedicated education platform like MEDIAL offers more integrated workflows. Here’s a quick breakdown to help you decide.
| Recording Feature Comparison Zoom vs Teams vs MEDIAL || :--- | :--- | :--- | :--- || Feature | Zoom (Education Plan) | Microsoft Teams (Education) | MEDIAL || Local Recording | ✔️ Yes (Host controlled) | ✔️ Yes | ✔️ Yes (Via capture app) || Cloud Recording | ✔️ Yes (Storage limits apply) | ✔️ Yes (Via OneDrive/SharePoint) | ✔️ Yes (Unlimited storage) || Auto-Transcription | ✔️ Yes (Cloud only) | ✔️ Yes (Cloud only) | ✔️ Yes (AI & Human options) || LMS Integration | Basic (Link sharing) | Good (Deep integration) | Excellent (Direct recording & assignments) || Branded Recordings | ❌ No | ❌ No | ✔️ Yes (Custom branding) || Scheduled Live Recording | ❌ No | ❌ No | ✔️ Yes (Automated workflow) || In-Browser Editing | ❌ No | Basic (Trim in Stream) | ✔️ Yes (Trim, chop, edit captions) |
As you can see, while general-purpose tools cover the basics, specialised platforms are built with the educator's entire workflow in mind, from recording and editing to direct LMS integration.
Mastering Different Views and Scenarios
Modern platforms offer various recording layouts, and choosing the right one adds a professional touch. Don't just stick with the default setting; tailor the view to the content of your session.
For example, when demonstrating a piece of software, use a Shared Screen with Speaker View layout. This ensures your audience can clearly see both the software interface and your facial expressions, making the tutorial more engaging.
In a panel discussion or a dynamic Q&A, a Gallery View recording is far more effective. It captures the interaction between all participants, creating a more inclusive and complete record of the conversation.
Platforms like MEDIAL take this a step further by offering branded, scheduled live recordings that integrate directly into your LMS. This means you can set up a session that automatically records with your institution's branding and becomes available to students in their course environment without any manual uploading. It’s an efficient way to make every recording a seamless part of the learning journey.
Editing Your Recording for Maximum Impact

Once your session wraps up, the raw video file is really just a starting point. The magic happens in post-production, where you turn a simple meeting recording into a polished and genuinely effective learning asset for your students.
Don't worry, this isn't about becoming a video editing pro or buying expensive software. Most modern video platforms, including MEDIAL, have simple in-browser editing tools built specifically for educators. The goal isn’t cinematic perfection; it’s about creating professional clarity with just a few clicks.
Trimming and Tidying Your Content
The first and easiest win is to "top and tail" your video. This just means trimming off the awkward few minutes of silence or small talk at the beginning while everyone's joining, and snipping off the abrupt goodbyes at the very end.
It’s a small step, but it makes a massive difference. For instance, if your meeting started at 10:00 but the real content didn't begin until 10:04, simply trim the first four minutes. A clean start and a sharp finish tell students their time is valued and the content is focused.
You can also use these tools to chop out any major tangents. For instance, if a Q&A session went off-topic for ten minutes, you can easily remove that section to keep the final cut locked onto the core lesson objectives.
Generating Captions for Accessibility
Adding accurate captions is probably the most critical part of post-production. This isn't just a "nice-to-have" feature anymore; it's absolutely essential for meeting accessibility standards like the Web Content Accessibility Guidelines (WCAG) and supporting all your learners. Interestingly, studies show that over 80% of viewers who use captions are not deaf or hard of hearing—they use them to improve focus and comprehension.
AI-powered captioning tools can automatically generate a full transcript in minutes. While the technology is impressive, always plan for a quick human review. For example, check that the AI correctly spelled a key academic's name or a complex technical term. This ensures 100% accuracy.
These transcripts also unlock another powerful feature: they make your video content searchable. A student can type in a keyword like "photosynthesis" and jump directly to that exact moment in the video, turning a passive recording into an interactive study aid.
Exporting Your Video for the LMS
Finally, you need to think about your export settings. The key here is balancing visual quality with file size. A massive, uncompressed video file will be a nightmare for your Learning Management System (LMS) to handle and incredibly frustrating for students on slower internet connections.
Here’s a practical guideline for exporting educational videos:
Format: Stick with MP4 (H.264). It's the universal standard and will play nicely on virtually every device and LMS out there.
Resolution: For most screen-sharing and talking-head content, 1080p (1920x1080) gives you excellent clarity without creating a gigantic file.
Bitrate: A variable bitrate between 2,000-5,000 kbps is a good target for finding that sweet spot between quality and file size. Most simple editing tools have a preset for "Web" or "Online Video" that will handle this for you.
Taking care of these final touches ensures the recording you worked hard to create is accessible, professional, and dead simple for every student to use.
Embedding Recordings into Your LMS
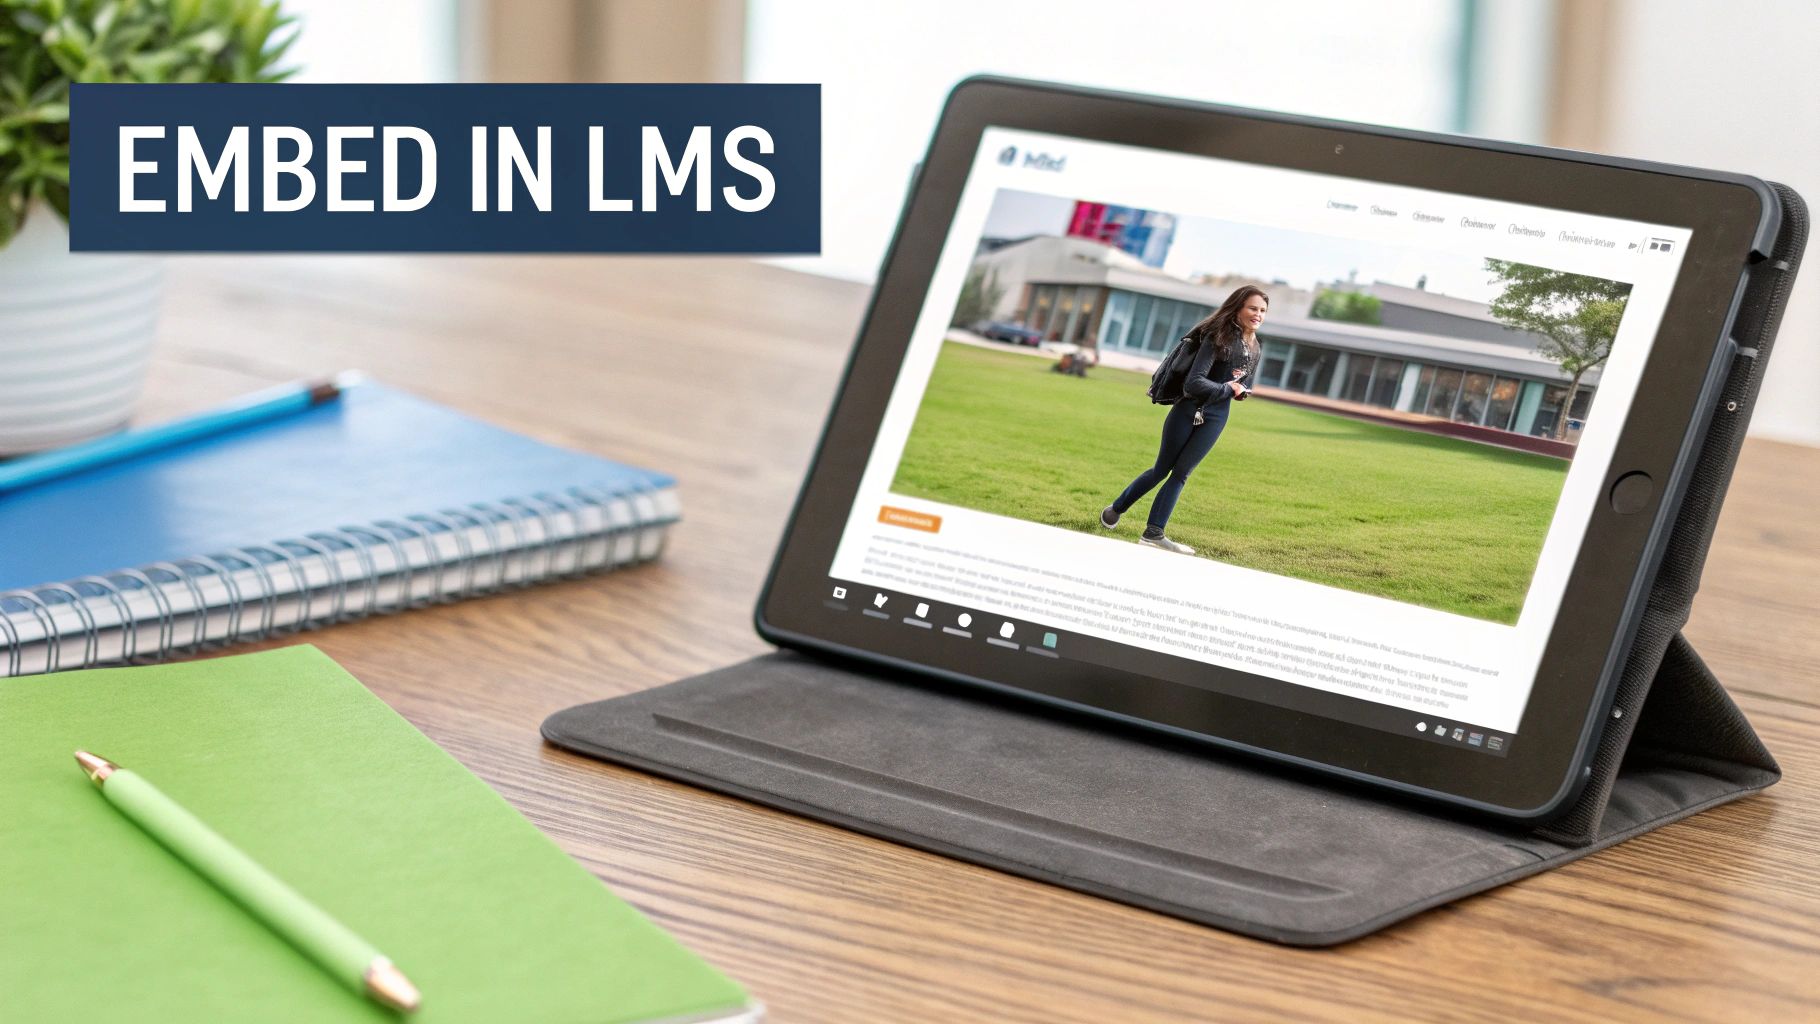
You’ve done the hard work of trimming and polishing your recording. Now, where does it live? The final, crucial step is getting it in front of your students where they’ll actually see and use it.
Simply dropping a link onto a course page just won't cut it. Real integration means weaving the recording into the natural learning pathway inside your Learning Management System (LMS).
Whether your institution uses Moodle, Canvas, or Blackboard, the aim is to embed the video directly within a relevant lesson or module. This keeps students locked into the familiar course environment instead of sending them off to another website, which helps maintain focus. A deeply integrated video platform makes this entire process incredibly simple.
For UK educators, thinking strategically about the role of Learning Management Systems in Higher Education is key. It helps you shift your perspective, seeing recordings not just as passive archives but as powerful, active learning tools.
Strategies for Active Learning with Recordings
A lecture recording should be more than a safety net for students who couldn't make the live session. It has the potential to become a powerful teaching tool that demands active engagement, not just passive viewing.
So, instead of just telling students to "watch the video," build an activity around it. This simple shift transforms the recording from a static file into the centrepiece of an interactive lesson. The goal is to prompt students to do something with the information they've just watched.
Your aim should be to make interacting with the recording a required, meaningful step in the learning process. When a video is tied directly to a graded activity or a collaborative task, students are far more likely to engage with the material on a deeper level.
Here are a few practical ideas to get you started:
Build a companion quiz: In your LMS, create a five-question quiz and embed it directly below the video. Set it so students must watch the video to find the answers to questions about key concepts discussed at specific timestamps.
Kick off a forum discussion: Post a thought-provoking question related to the video's content in a discussion forum. For example, "After watching the debate, which argument did you find most compelling and why? Reply to at least one peer."
Use it for a flipped classroom: Assign the recording as pre-sessional work. This is a game-changer. It frees up precious live class time for hands-on activities and deeper discussions, with the recording providing all the foundational knowledge beforehand.
Practical Workflows in Your LMS
When your video platform and LMS are properly integrated, you can create some incredibly efficient workflows. For example, some systems let you pull videos directly from your media library and embed them without ever leaving your LMS dashboard.
This is a huge time-saver, especially for platforms like Moodle where seamless tool integration is everything. If you want to see just how smooth this can be, you can learn more about how to integrate Zoom with Moodle for a truly connected experience.
But this integration goes way beyond simple embedding. With a platform like MEDIAL, you can set up video assignment drop-boxes right inside the LMS. Students can record and submit their own video responses, and you can grade them using familiar LMS tools like rubrics. This workflow is perfect for presentations, language practice, or practical skill demonstrations, turning the recording process into a two-way street for genuine assessment and feedback.
Managing Storage, Security and UK Compliance
As your library of recorded meetings grows, so do the headaches of storing them securely and legally. It’s no longer just about having enough server space; it’s about protecting sensitive information while staying on the right side of UK regulations.
This challenge is becoming more real by the day as recording meetings shifts from a "nice-to-have" to standard practice. Take the UK events sector, for example. Medium-to-large events now make up 22% of the total, a big jump from just 15% in 2023. This trend shows a much greater need for digital capture to document research and training, making secure storage a non-negotiable part of operations. You can dig into more of these insights in the UK Conference and Meeting Survey 2025.
Choosing Your Storage Solution
When you're deciding where to keep all these recordings, you're looking at two main paths: your own local servers or a cloud-based video platform. Each comes with its own set of pros and cons, depending on your institution's budget, IT muscle, and how much you expect your video library to grow.
Local Servers: This route gives you complete physical control over your data, which some institutions prefer. The catch? It requires a hefty upfront investment in hardware, ongoing IT maintenance, and scaling up can be a slow, expensive process.
Cloud Platforms: This is where you get real flexibility. Cloud storage lets you expand as needed without worrying about buying new hardware. Platforms like Panopto or MEDIAL are built specifically for education, offering predictable costs and security features designed for how schools and universities work.
For most educational institutions, a dedicated cloud video platform strikes the best balance between cost, ease of use, and security. It takes the weight of server maintenance, security updates, and scalability off your internal IT teams, freeing them up to focus on other priorities.
Navigating UK Compliance Duties
Storing recordings isn't just a technical puzzle; it's a legal one. In the UK, there are several key compliance areas you absolutely have to get right. Getting this wrong can expose your institution to some serious risks.
First up, you need to get your head around UK data retention policies. A practical first step is to check your institution's existing policy. For example, lecture recordings may need to be kept for the academic year plus one year, while staff training might have a three-year retention period before automatic deletion.
Another minefield is intellectual property. Typically, educational content created by staff is owned by the institution, but you need crystal-clear policies that spell out ownership and usage rights to sidestep any future disputes.
Finally, accessibility is a legal must-have. Making sure your stored videos have accurate captions is vital for compliance. If you're looking for a practical breakdown, you might find our guide on achieving affordable compliance with AI captions helpful. At the end of the day, protecting your institution and students means having a solid plan for managing every step of a recording's life.
Things That Can Go Wrong (And How to Fix Them)
Even with the best preparation, technology has a habit of throwing a spanner in the works at the worst possible moment. We’ve all been there—sudden audio glitches, video that refuses to save, or a key participant who can’t share their screen. It’s frustrating, but knowing how to handle these hiccups is a core skill for any educator running online sessions.
And these aren't isolated incidents. In the UK, the average employee now spends 11.3 hours a week in meetings, and a staggering 72% of workers report dealing with technical issues. With 86% of meetings involving at least one remote person, a clean recording is no longer a nice-to-have; it’s essential for anyone who missed key points due to a bad connection. You can dig into more of these UK video conferencing statistics on sqmagazine.co.uk.
Let’s walk through some of the most common problems and get them sorted.
Dealing with Audio and Video Failures
Sudden audio drops are probably the most frequent complaint. If your microphone cuts out mid-sentence, don't panic. First, check your physical connections—is the USB cable properly plugged in? Then, dive into your meeting software’s audio settings and make sure the correct microphone is selected. Sometimes, the simplest fix is to just leave and rejoin the call, which often forces the connection to reset.
Pixelated or frozen video is almost always a sign of a shaky internet connection. If you can, plugging directly into your router with an Ethernet cable is the most reliable solution. If that's not an option, ask participants to turn off their video feeds unless they are speaking. This significantly reduces the bandwidth demand for everyone on the call.
Here’s a pro tip that has saved me countless times: always run a quick test recording five minutes before the main session is due to start. This quick check is your best chance to spot and fix any audio-visual gremlins before your students or colleagues have even joined.
Fixing Recording and Permission Issues
What happens when the meeting is over but your recording fails to process or save? It's a horrible feeling. This is a classic risk with local recordings, especially if your computer runs out of disk space or decides to crash. This is precisely why cloud recording is the safer option for any important session; the file is processed and stored on a secure server, taking your local machine out of the equation.
Managing participant permissions on the fly is another common challenge. A student joins late and suddenly can't unmute or share their screen, right when it's their turn to present. Before the meeting, familiarise yourself with the 'Participants' or 'Attendees' panel in your software. It's usually a simple fix where you can find their name, click the 'More' option, and adjust their permissions instantly without disrupting the flow.
Finally, remember to keep your learners engaged. When you're in the middle of a long recording, it's easy to fall into a monologue. Make a point to pause every 10-15 minutes to ask a question or run a quick poll. It’s a small thing, but it breaks up the session and reminds everyone that even though it's being recorded, their live participation is what makes it valuable.
Streamline your entire recording workflow, from capture to LMS integration, with MEDIAL. Our AI-powered platform is built for education, making it simple to create, manage, and share high-quality video content securely. Schedule a personalised demo to see how MEDIAL can work for you.
Comments