
How to Setup OBS: Practical Guide for Educators in 2026

You've got the laptop open, the semester is about to start, and the lecture room already feels busier than it should. The slides are ready, the webcam is plugged in, and the LMS course is waiting on the other end. That's usually the moment people open OBS and realise it isn't just a “record” button, it's the tool that has to make the whole classroom work.
For educators, how to setup OBS is really about making three things behave at once. It needs to capture your slides and screen, carry your voice and camera cleanly, and send the result somewhere students can access it, whether that's a live session, a recording, or a class asset inside Moodle, Canvas, Blackboard, or Brightspace. If you plan it with teaching in mind, OBS starts to feel less like broadcasting software and more like the control room for your lesson.
What OBS Needs to Do in Your Classroom
The first day of term usually exposes every weak point in a teaching setup. A tutor walks into a room with a laptop, a webcam, a microphone, and a course shell already open in the LMS, then tries to make all of it behave in one go. OBS sits in the middle of that workflow, because it has to switch between the slide deck, the speaker view, and the output students will later watch or join live.
Think like a teacher, not a streamer
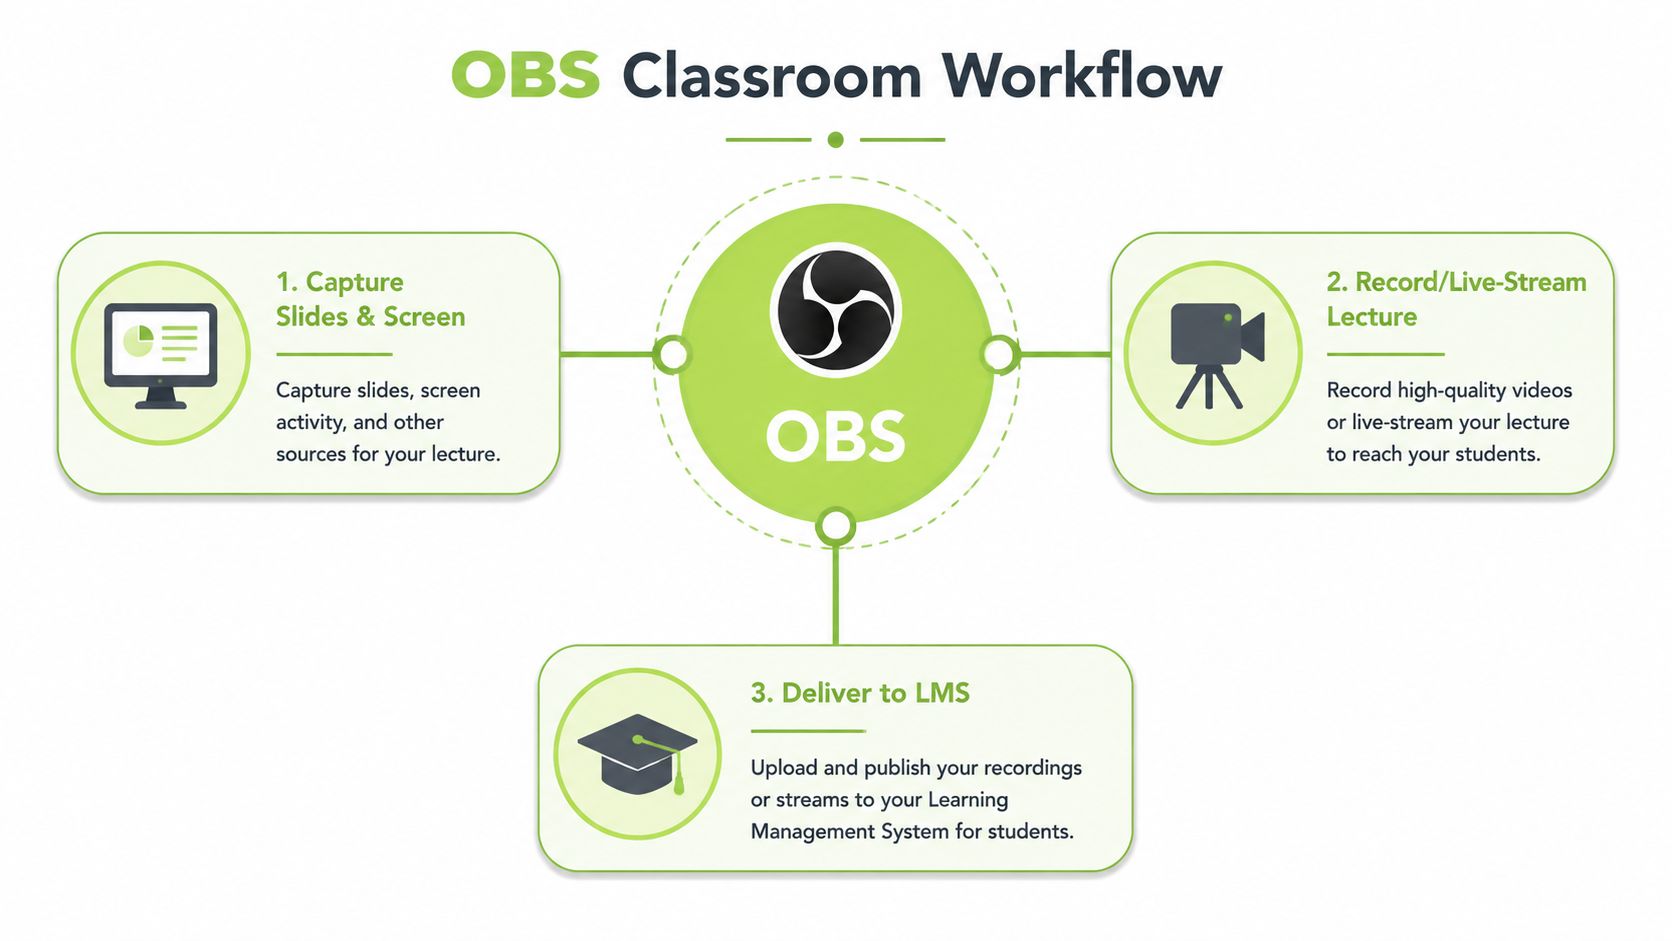
In a classroom, OBS has three jobs that matter more than flashy effects. It has to capture slides and screen content, it has to record or live-stream the lecture, and it has to deliver usable media into the LMS workflow so students don't end up hunting for files in the wrong place. That shift in thinking helps a lot, because it stops you from treating every menu item as a technical extra.
Practical rule: if the session won't be useful when a student watches it later in Moodle, Canvas, Blackboard, or Brightspace, the setup isn't finished yet.
That's why the interface can look busy at first and still be sensible. Scenes are the different teaching views you'll switch between. Sources are the ingredients inside each view, such as slides, webcam, microphone, or a browser window. Outputs are the final destinations, which might be a recording for upload, a live stream, or both.
A simple first-day setup often starts with one slide scene and one speaking scene. When you understand those two pieces, the rest of the interface starts to make sense fast. The point isn't to build a studio, it's to build a repeatable teaching routine that won't collapse when the room is full and the clock is against you.
Why the default layout matters
OBS opens with a layout that looks made for experimentation, but that layout is useful once you know what you're looking at. The preview shows what students will see, the Sources panel holds your content layers, and the Audio Mixer tells you whether your microphone is being heard. If you walk into the first class with that model in your head, the rest of the setup becomes far easier to remember under pressure.
Installing OBS and Running the Auto-Configuration Wizard
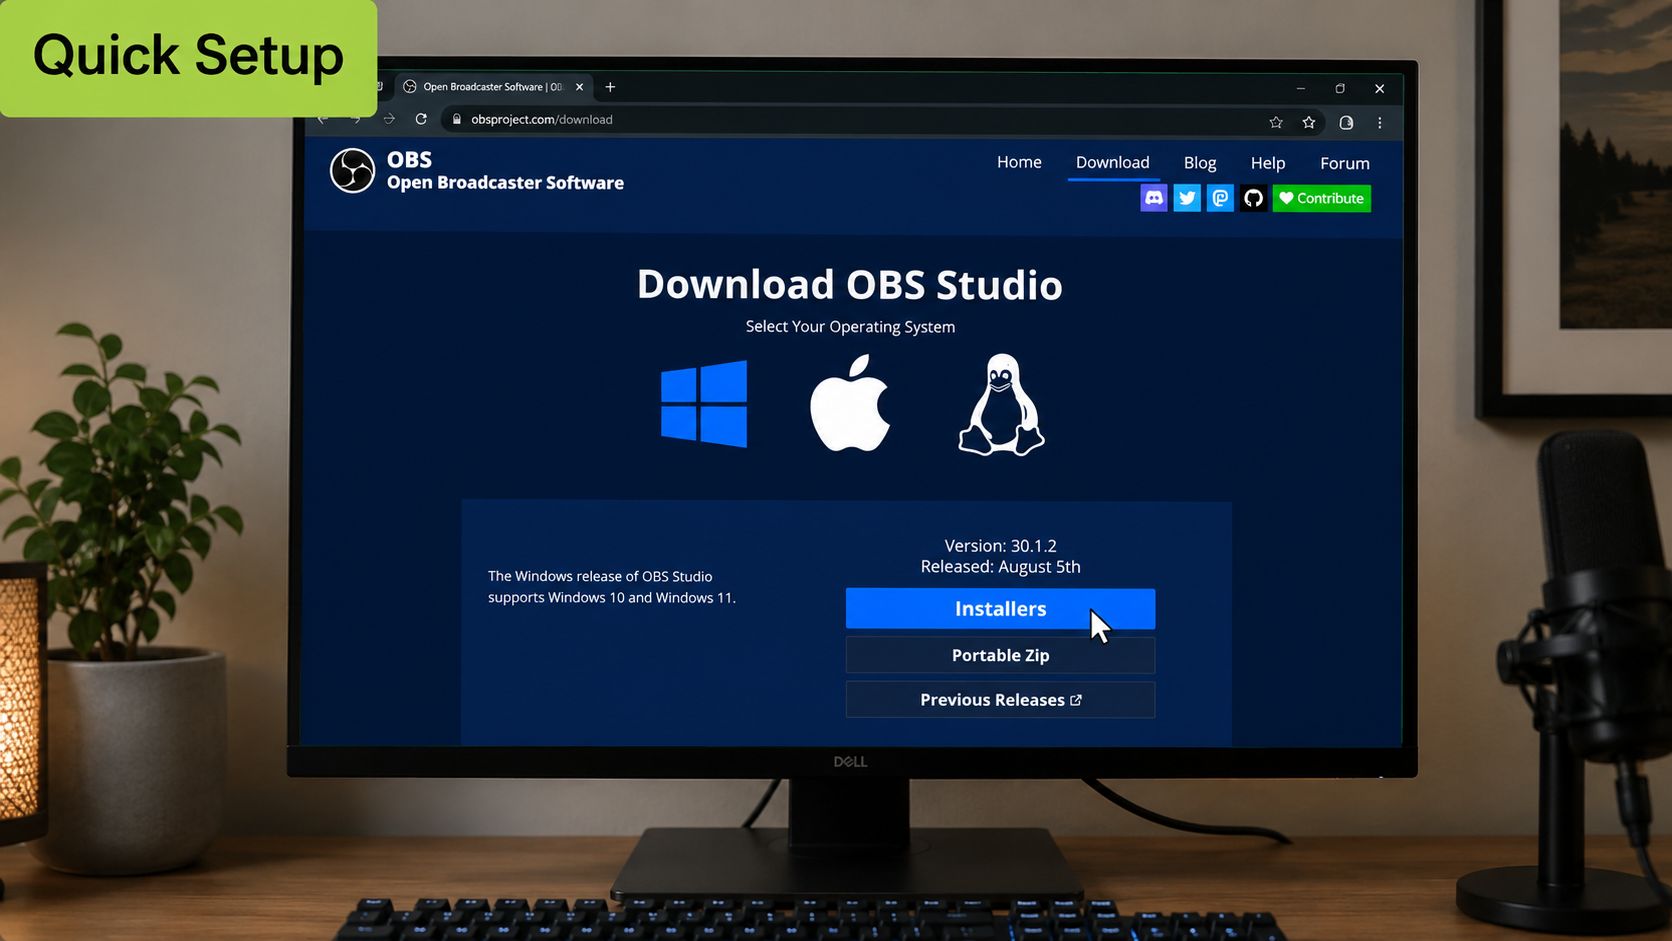
Start by downloading OBS Studio from the official site and choosing the installer that matches your operating system. On Windows, macOS, and Linux, the goal is the same, get the app installed cleanly so you can move straight into classroom testing instead of fighting setup issues later. The teacher mistake I see most often is rushing past the install and assuming the first automatic settings will fit every room.
Let the wizard build a baseline
OBS's Auto-Configuration Wizard is the right first move, because it gives you a baseline profile before you start customising. The official quick-start guide recommends beginning there, then adding sources, setting up audio, and running a test recording or stream before going live. That sequence matters in teaching rooms, because a wizard can't know the upload limit, the actual camera behaviour, or whether the laptop has to do too much at once. OBS's Quick Start Guide makes that testing step part of the workflow, and that's the bit many people skip.
After the wizard finishes, open View > Stats straight away. OBS documentation says the Stats window can also be added through View > Docks > Stats, and it shows recent PC resource usage and encoding performance, with a Reset button if you want to refresh the numbers (OBS status indicators and Stats window). In a classroom, that window is your first clue about whether the laptop can keep up before students join.
What to check before adding sources
Look at the wizard's suggested resolution, FPS, and bitrate, then compare them with the room, the camera, and the network you have. The wizard is a starting point, not a final production profile, so a short local test matters more than trusting the defaults. If the first test file looks smooth, you're building on something solid. If it doesn't, you've found the problem before the live session does.
The safest habit is simple, wizard first, then test, then tune. That sequence saves more classes than any fancy preset ever will.
Building Scenes and Adding Sources for Lectures
A lecture setup becomes manageable when you stop thinking of OBS as one canvas and start thinking of it as several teaching views. One scene can be your slides full screen, another can be your face and voice for an intro, and a third can combine both for recap or discussion. That's the logic I use in real rooms, because it keeps you from scrambling to rearrange everything in the middle of a lesson.
Start with the blank scene
Begin with a blank scene, then add sources from the Sources panel using the plus button. One walkthrough shows the exact motion clearly, click the plus button, choose Display Capture, and name the source so you can recognise it later. That naming habit matters more than it sounds, because “Display Capture 1” turns into a mess once you have slides, webcam overlays, and a cropped camera view all living in the same file.
For a lecture room, a good first source is Display Capture for your slides or desktop. Use Window Capture when you only want a specific app, such as PowerPoint or a browser-based whiteboard, because that lowers the risk of showing private notifications or unrelated windows during a live class. If students don't need to see your desktop, don't show it.
Build scenes around teaching moments
A second useful scene is a talking-head layout. Place the webcam on the canvas, crop it if needed, and frame it so your eyes sit closer to the top third of the shot. That framing also makes it easier to repurpose the recording for a vertical-friendly clip, which matters when you later cut short segments for mobile viewing or internal training.
A third scene can be picture-in-picture, with the slides as the main layer and the webcam in a corner. That's useful when you want students to track both the content and your explanation at the same time. If you only own one camera, duplicating a scene and cropping it to simulate a second angle can still give you the feel of a multi-camera class without buying more gear. A community tutorial on multi-angle workflows shows that these setups usually depend on duplicated scenes, cropping, or automation rather than a single magic setting (multi-angle OBS workflow examples).
Teaching habit: name each scene for the moment of the lesson, not for the device. “Intro Face,” “Slides Full,” and “Slides Plus Camera” are easier to trust than generic labels.
Audio, Video, and Encoding Settings That Actually Hold Up
Once the picture looks right, classroom failures usually come from audio, resolution, or encoding pressure. A laptop that seems fine in the prep room can stumble when the webcam, microphone, slides, browser tabs, and live output all compete at once. That's why these settings need to match the teaching room, not a gaming build.
Set audio first, because bad audio ruins good video
Open Settings > Audio and choose the microphone you'll use in class. Keep the sample rate and channels consistent with the rest of the setup, and make sure the input meter moves when you speak. If the meter stays flat, the problem is usually permissions, the wrong device, or a cable issue, not OBS itself.
Then move to Settings > Video. Set the base and output resolutions so the canvas matches the teaching layout you need, and choose an FPS that the laptop can maintain without strain. A smooth, readable lecture beats a slightly sharper but unstable one every time. In practice, many lecturers over-spec the output and then wonder why the room feels laggy.
Match the encoder to the machine
In Settings > Output, pick an encoder that suits the hardware. x264 can be fine on a modern laptop if the load is modest, while NVENC on supported Nvidia hardware or Apple VT on Mac can offload work from the CPU. The right choice is the one that keeps the lesson steady while leaving enough headroom for the rest of the machine.
Upload speed | Recording bitrate | Streaming bitrate | Suggested resolution |
|---|---|---|---|
Lower classroom upload | Lower, steady recording bitrate | Lower, stable streaming bitrate | 720p |
Moderate classroom upload | Moderate recording bitrate | Moderate streaming bitrate | 720p or 1080p |
Stronger classroom upload | Higher recording bitrate | Higher streaming bitrate | 1080p |
For broader playback planning, MEDIAL's guidance on video file formats is useful when you're deciding how the recorded file should travel after the class ends. If you're also sorting out live delivery and stream stability, the article on buffering fixes and HLS encoding is a practical reference point for the playback side of the workflow.
A short test recording tells you more than a long guess. Record a minute of slides, microphone audio, and webcam together, then check whether the video looks clean and whether your voice stays consistent over time.
Connecting OBS to Your LMS and MEDIAL Workflow
OBS becomes useful when the output lands where students already work. For most educators, that means either sending a live session into a platform that stores or manages the recording, or feeding the OBS scene into a meeting tool or browser-based delivery path that students can join without extra friction. The technology is the same, the workflow is what changes.
Two routes educators use most
One common route is to connect OBS to a platform with an RTMP stream key. In MEDIAL, that means taking the live channel details, pasting the server address into OBS Settings > Stream, and using the stream name as the stream key. OBS forum guidance also confirms that stream-related panels sit under View > Docks, and that account-linked streaming options can be reached from Settings > Stream for services such as Twitch (OBS streaming and dock guidance). In a course workflow, that same idea applies when you want the lecture to arrive inside the right teaching environment instead of floating around as a loose broadcast.
The other route is OBS Virtual Camera. That lets Zoom, Microsoft Teams, or an in-browser session use your OBS scene as if it were a webcam feed. It's often the cleanest option when you want the polished OBS layout but the actual class runs through a meeting or browser window.
Keep the platform and course in sync
If you're using a platform like MEDIAL, the point isn't just getting the stream live. It's confirming that the output shows up in the correct course area, because students will always go looking in the LMS they already know. MEDIAL also supports live streaming with classroom and campus workflows, so it sits naturally alongside OBS when you need one place for delivery and storage (live streaming university lectures).
The simplest first test is end-to-end. Start OBS, send a short live signal or virtual camera feed, then check the target course or session area from the student side. If the asset appears where you expect it, you've got a working teaching route rather than just a working encoder.
A short first-run checklist
Confirm the stream path: Make sure you're using the RTMP route or the Virtual Camera route on purpose, not by accident.
Check the course destination: Open the right Moodle, Canvas, Blackboard, or Brightspace area before the session starts.
Verify playback from the student view: Don't trust the teacher view alone.
Keep one browser tab free: It helps when you need to compare the live session with the LMS page quickly.
Captions, Accessibility, and Classroom Best Practices
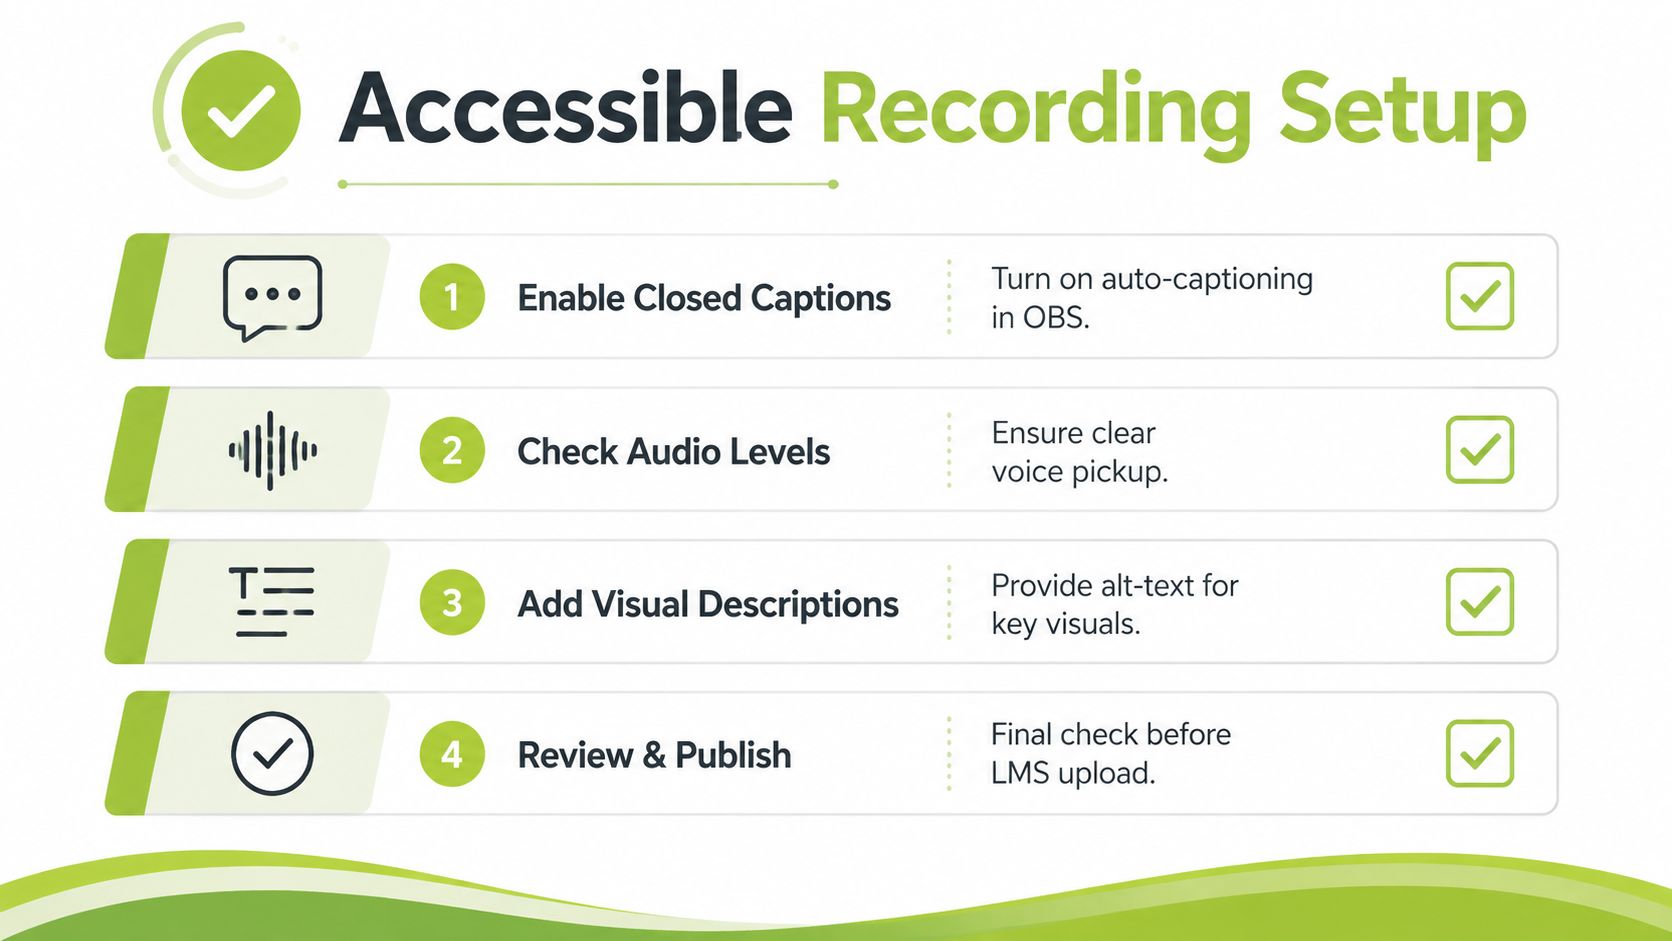
A lecture setup isn't complete just because the picture is sharp. If students can't follow the audio, or if the recording is hard to read later, the setup has failed in the one place that matters most, learning. Accessibility is part of setup, not a nice extra at the end.
Make the recording usable for every student
If your platform supports it, turn on closed captions so the recording can be followed more easily later. MEDIAL includes AI-assisted closed caption generation, which helps turn a live or recorded class into something students can review with text support. For deeper background on captioning, MEDIAL's guide to closed captioning is a solid reference, especially when you're aligning accessibility with course delivery.
Live captions also matter when a class has poor audio conditions or mixed listener needs. If you're comparing tools for that part of the workflow, iScribe Live Transcribe's overview of live caption apps for deaf users is worth a look because it frames captioning as a practical classroom aid, not just a compliance box.
Small habits that protect the session
Keep the webcam at eye level if you can. It makes the speaker view calmer and easier to watch, especially in a long recording. Mute notifications before going live, because a calendar pop-up or message banner can distract the whole room and break concentration at exactly the wrong moment.
A consistent lower-third helps too. Use the same name label, role label, or module label each time so students recognise the speaker quickly across sessions. That kind of visual consistency matters in repeated teaching, because it makes the recording feel like part of the course rather than a one-off file.
Keep the layout readable
If you use slides and speaker video together, leave enough space for both. Don't crowd the webcam into a corner where it covers diagrams, and don't shrink the slides so far that the text becomes hard to read. A clean layout is often the difference between a recording students revisit and one they abandon.
Troubleshooting the Problems Teachers Hit First
The first problems teachers notice in OBS usually follow a small set of patterns. A choppy preview, a black screen, or missing audio often points to a setup mismatch rather than a broken install. Start with the symptom you can see, then change one setting at a time. That keeps you from chasing a dozen variables while students are already waiting.
Dropped frames or stuttering
If the stream looks rough, open View > Stats and check the encoding and resource readouts. OBS's built-in Stats window shows recent PC resource usage and encoding performance in real time, and the Reset button clears the current view before you run another test. If the computer is under strain, lower the output FPS or choose a lighter encoder setting.
Black screen instead of the lecture content
A black capture usually means OBS is pointed at the wrong source type or the wrong window. If you used Display Capture but only need one app, switch to Window Capture and test again. That fix often works faster than checking every display setting in the room.
No audio in the recording
If the mic meter does not move, check the microphone device first, then permissions, then the cable or headset. A muted input in OBS can look the same as a disconnected one at first glance, so trust the meter before you trust your guess. If the meter moves but the recording still sounds off, try another input device before you change the whole layout.
If one fix does not change the symptom, stop there and move to the next likely cause. Random changes make classroom setups harder to trust, not easier.
Test under classroom conditions
Do not judge the setup only from the prep room. Run a short trial with the same laptop, the same microphone, and the same source layout you plan to use in class, then check how it behaves in the room where teaching happens. That gives you a realistic result before the first student enters.
If you want a teaching workflow that connects OBS to real course delivery instead of leaving you to piece it together yourself, MEDIAL gives you a place to route live sessions, manage recordings, and keep them inside the LMS your students already use. Try MEDIAL if you want your next OBS setup to feel less like a workaround and more like part of the class.
Comments