
Combine Video Audio Across Every Workflow

You've probably got the pieces already. A lecture capture with weak room audio. A clean voiceover recorded later on a USB mic. A replay from Teams or Zoom that needs trimming before it goes into the LMS. By Friday, none of that matters unless it becomes one usable file that plays properly, stays in sync, and doesn't fall apart when captions are added.
That's where most combine video audio guides stop too early. They show how to drop a WAV under an MP4 and hit export. In UK education, training, and public-sector publishing, that's only half the job. The harder part is making sure the merged asset is understandable, captioned, synchronised, and safe to publish in the system your learners use.
What Combining Video and Audio Really Means
A common job lands like this: an L&D manager has a narrated slide deck in PowerPoint, a separate voiceover from a quiet office, and an LMS deadline. The question sounds simple. “How do I combine video audio into one MP4?” In practice, that can mean four different workflows, and the wrong one wastes time fast.
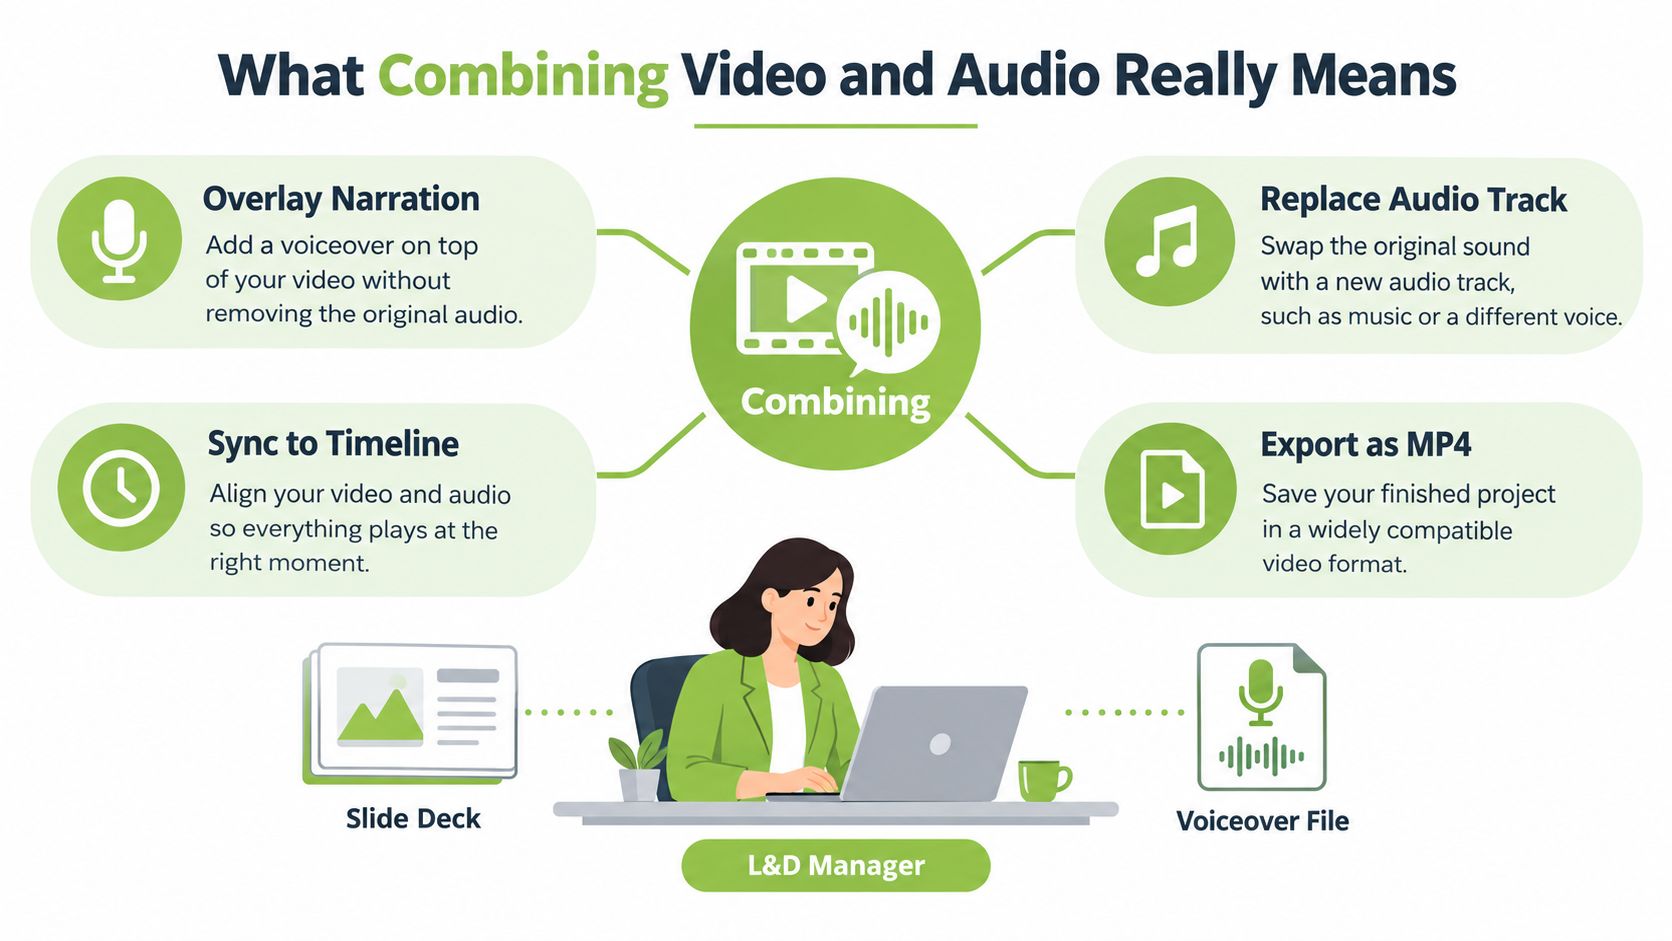
Four jobs people call a merge
Sometimes you're overlaying narration on top of existing camera sound. That's typical when the original clip has useful room tone or audience reaction but the spoken audio needs help.
Sometimes you're replacing the source audio entirely. That happens a lot with lecture capture where the room mic picked up HVAC noise, chairs, and side chatter, but the presenter re-recorded the script cleanly.
Other times you're just muxing. That means taking an existing video stream and an existing audio stream and packing them into one container without creatively mixing them. If the source files already line up, muxing is the fast path.
Then there's the version UK institutions need: an accessible master. That includes the combined picture and sound, plus captions, transcript handling, and sometimes audio description where important visual information isn't spoken aloud.
Muxing versus remixing
This distinction matters more than most editors admit.
Muxing keeps the streams separate and repackages them.
Remixing creates a new mixed audio result, usually with level changes, fades, ducking, noise treatment, or multiple microphones combined.
Re-encoding often follows remixing, because the output has to be written as a new file.
Verification sits after both, because a technically valid export can still fail in playback or accessibility review.
Practical rule: If you changed levels, timing, or track balance, treat the output as a new master that needs a fresh QC pass.
Accessibility is the part many teams leave too late. UK public-sector guidance requires captions for pre-recorded video with audio, and the University of Bath notes practical routes such as Panopto auto-captioning, Vimeo or YouTube automatic captions, or a third-party service in its guide to making accessible video and audio content. Once you think in those terms, the merge stops being a stitching task and becomes a publishing task.
Merging Tracks in Browser-Based and LMS Editors
If the destination is an LMS, browser editors are often the shortest route from raw media to publishable media. That's especially true when the institution already uses Panopto, Kaltura-style editors, or in-browser tools such as MEDIAL.
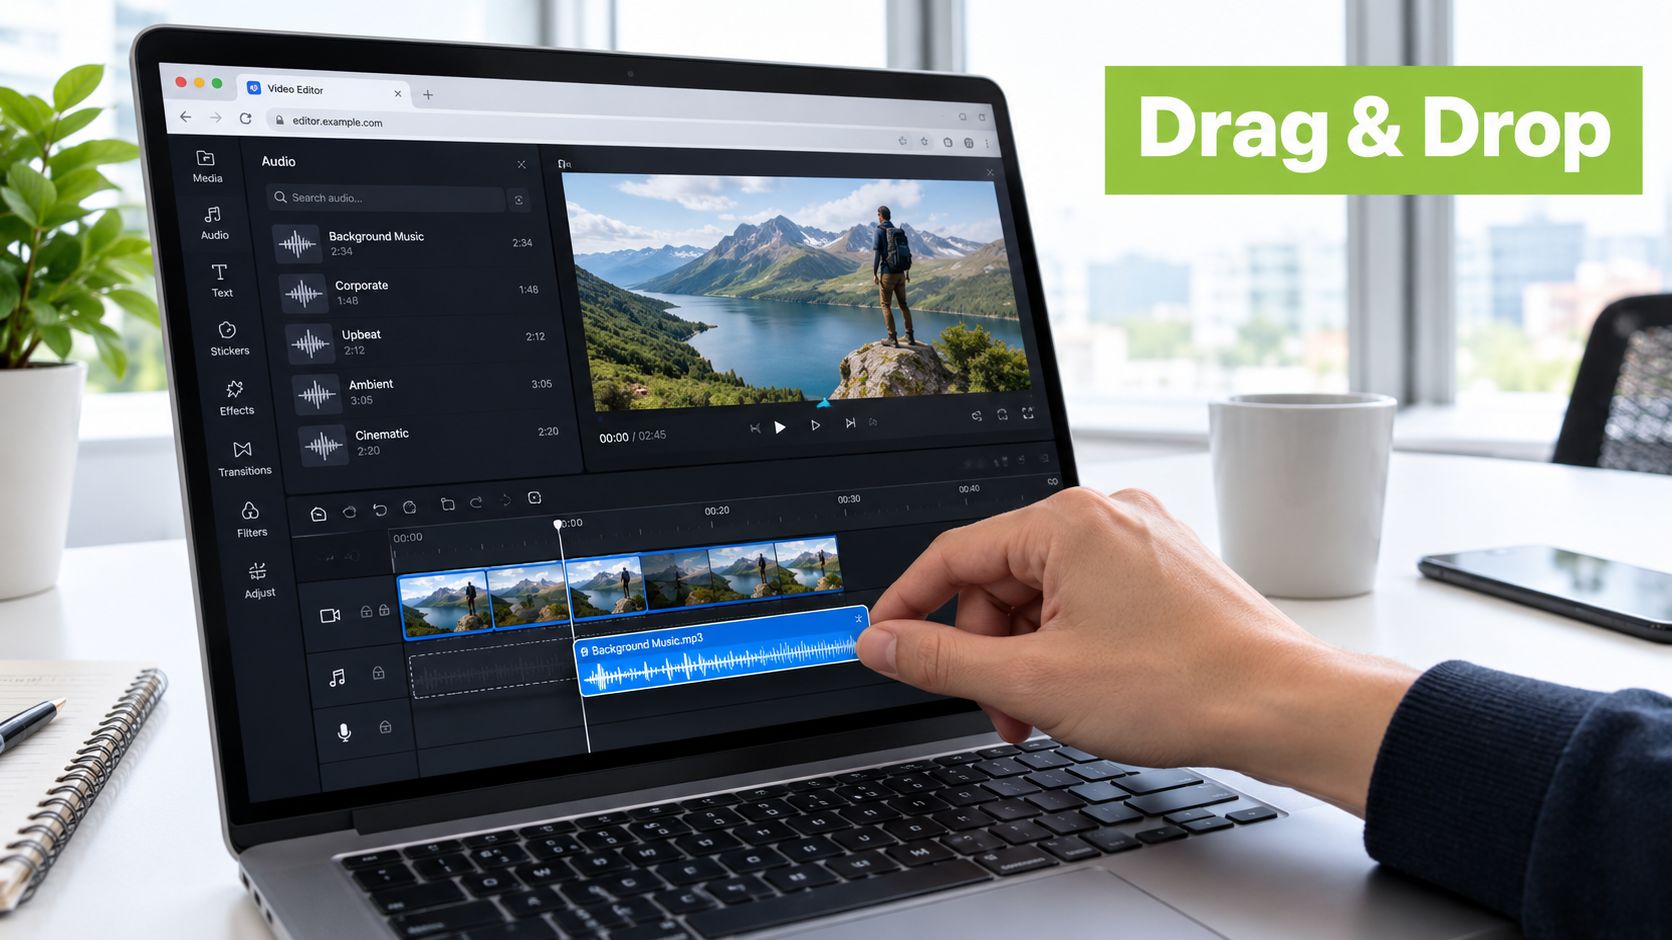
The click path that usually works
Open the editor and look for Import, Upload, or Add media. Bring in the source video first. Then import the replacement audio, usually as WAV or AAC. On most browser timelines, you'll drag that audio file onto an empty audio lane under the video.
From there, the workflow is usually recognisable:
Select the original clip: Click the source video on the timeline so the linked audio becomes visible.
Mute or replace the camera audio: Many editors expose a right-click option such as Mute, Detach Audio, or Replace Audio.
Trim the head and tail: Use the trim handles or razor tool to remove pre-roll, false starts, and trailing silence.
Preview the overlap: Play from the first spoken line and watch the waveform against mouth movement or slide changes.
Export to the platform preset: Choose the LMS-friendly MP4 preset rather than a high-end mezzanine format unless you know the player supports it.
A practical example: a tutor records slides with built-in laptop audio, then re-records a clean voiceover later. In a browser editor, it's often faster to mute the laptop track completely, line the new narration up to the slide transitions, and export once, instead of trying to rescue bad audio with filters.
What browser editors do well
Browser editors are strong when the task is operational rather than cinematic.
Fast replacement work: Clean voiceover over lecture slides is straightforward.
LMS handoff: The finished file usually lands back in the module without a separate upload cycle.
Caption generation: These systems often trigger auto-captions after export.
Low-friction review: Academic staff can preview and approve without opening a desktop NLE.
If you want a walkthrough of the browser-editing pattern, MEDIAL has a concise post on video editing in browser.
The browser workflow is the right one when the bottleneck is approvals, upload friction, or LMS publishing. It's the wrong one when you need deep repair on sync, noise, or multi-track audio.
Where these editors tend to break
They're less forgiving when the source audio starts late, drifts over time, or arrives in an awkward codec. They also make it easy to trust auto-generated captions too quickly. If the final destination is a regulated or compliance-sensitive environment, always review what the platform generated after export, not just what appeared on the timeline.
Combining Audio and Video in Desktop NLEs
Desktop editors are still the better choice when timing is messy, there are multiple microphones, or the handoff needs cleaner track control. Premiere Pro, Final Cut Pro, DaVinci Resolve, and Camtasia all handle combine video audio jobs well, but they encourage slightly different habits.
Near the start of the edit, it helps to visualise the timeline rather than guess the sync by ear.
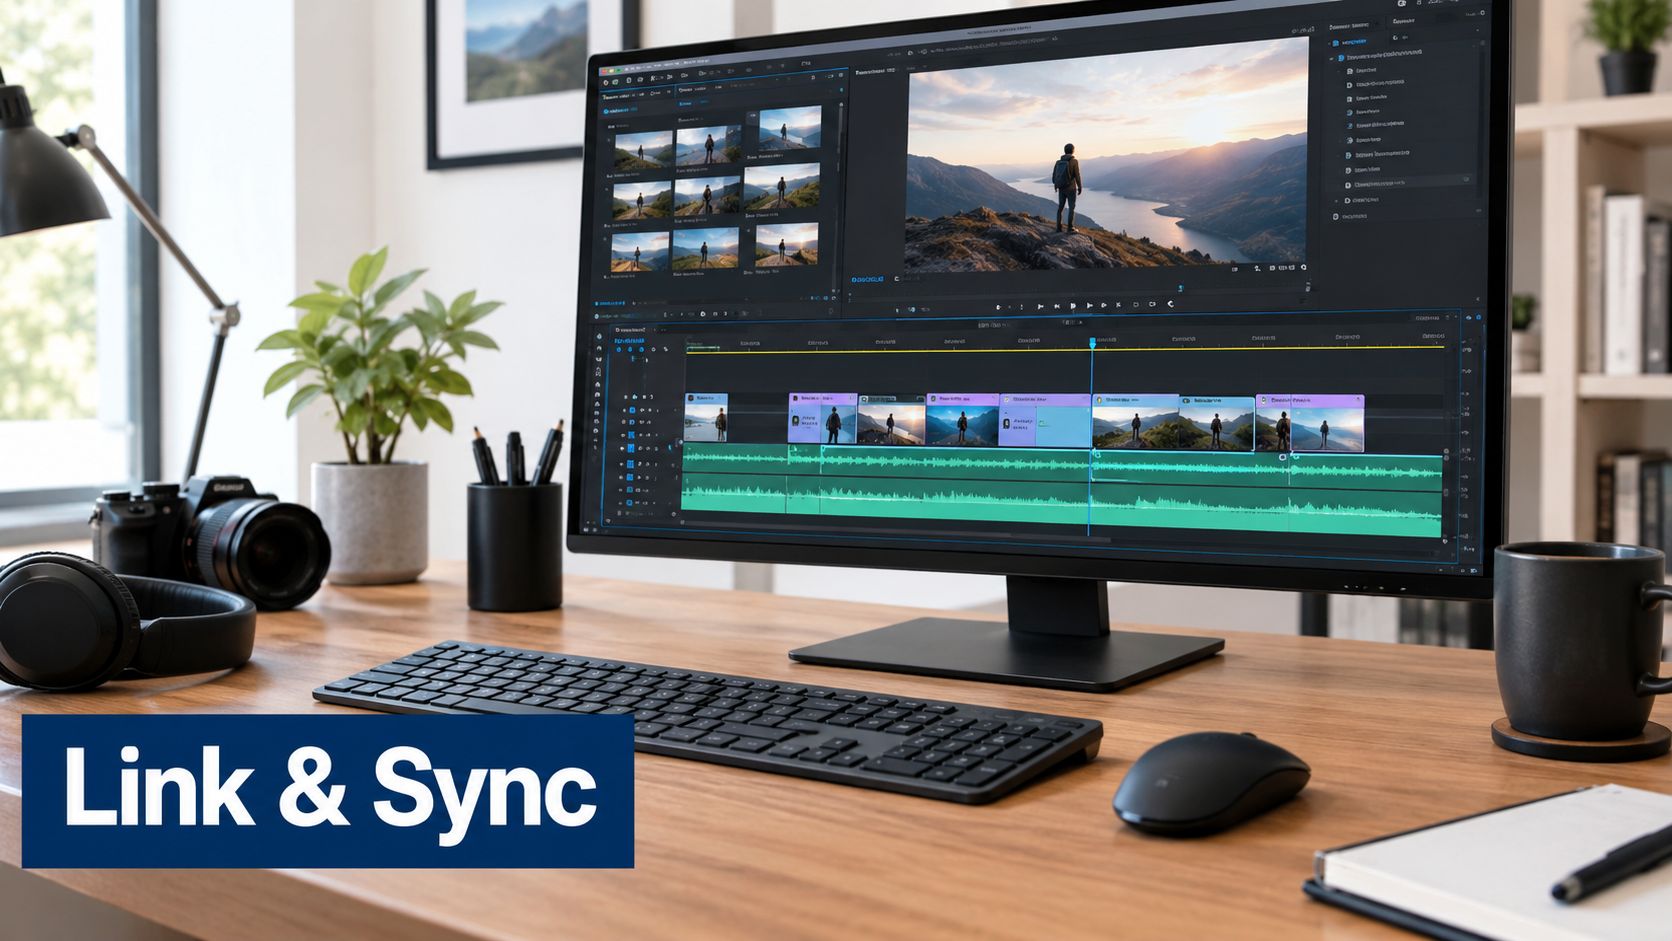
How the main NLEs differ
In Premiere Pro, import both assets, place the video on V1 and the replacement audio on A1 or A2, then use link and unlink deliberately. If you keep clips linked too early, tiny sync nudges become annoying. If you unlink everything, editors later move the wrong element by mistake.
In Final Cut Pro, the magnetic timeline is fast once you understand roles. Put the voiceover in a dedicated audio role and keep connected clips anchored to the picture edit. That reduces accidental slips when you trim slides or cutaways.
In DaVinci Resolve, I usually place the guide or camera audio on A1 and the keeper voiceover on A2. Lock the video track once the visual cut is stable. Then make all sync nudges at the audio-track level, not clip-by-clip unless there's a genuine pickup line.
Camtasia is simpler, but that simplicity is useful for teaching teams. Drop the replacement track onto the timeline, mute the original clip audio, trim the in and out points, and check transitions around slide advances.
J cuts, L cuts, and cleaner lecture pacing
Most institutional edits improve when you stop treating every cut as hard picture-plus-sound glue.
J cut use: Bring the next speaker or line in slightly before the visual change when a module moves from title slide to tutor on camera.
L cut use: Let the current speaker's final words continue while the visual moves to the next slide or screen recording.
Duck don't delete: If room sound gives context, lower it under the clean mic instead of removing it entirely.
Lock sync after approval: Once speech and picture are aligned, use sync lock or track lock before fine trimming.
Later in the edit, a live example helps more than another paragraph.
Export choices that avoid pain later
When the audience is an LMS, MP4 is normally the safe wrapper. If the file is staying inside editorial for another pass, MOV can make more sense, especially when the source is already in an edit-friendly format.
Keep an eye on sample rate. If one file came in at a music-oriented rate and your sequence is set differently, you can end up chasing slight sync weirdness after export. The fix is boring but reliable: set the project audio standard first, import second, and only then start timing the voiceover.
Stitching Files Together on the Command Line
For batch work, command line beats dragging clips around. If you've got twenty lecture captures that all need the same treatment, ffmpeg is the quickest way to combine video audio without opening a GUI for every file.
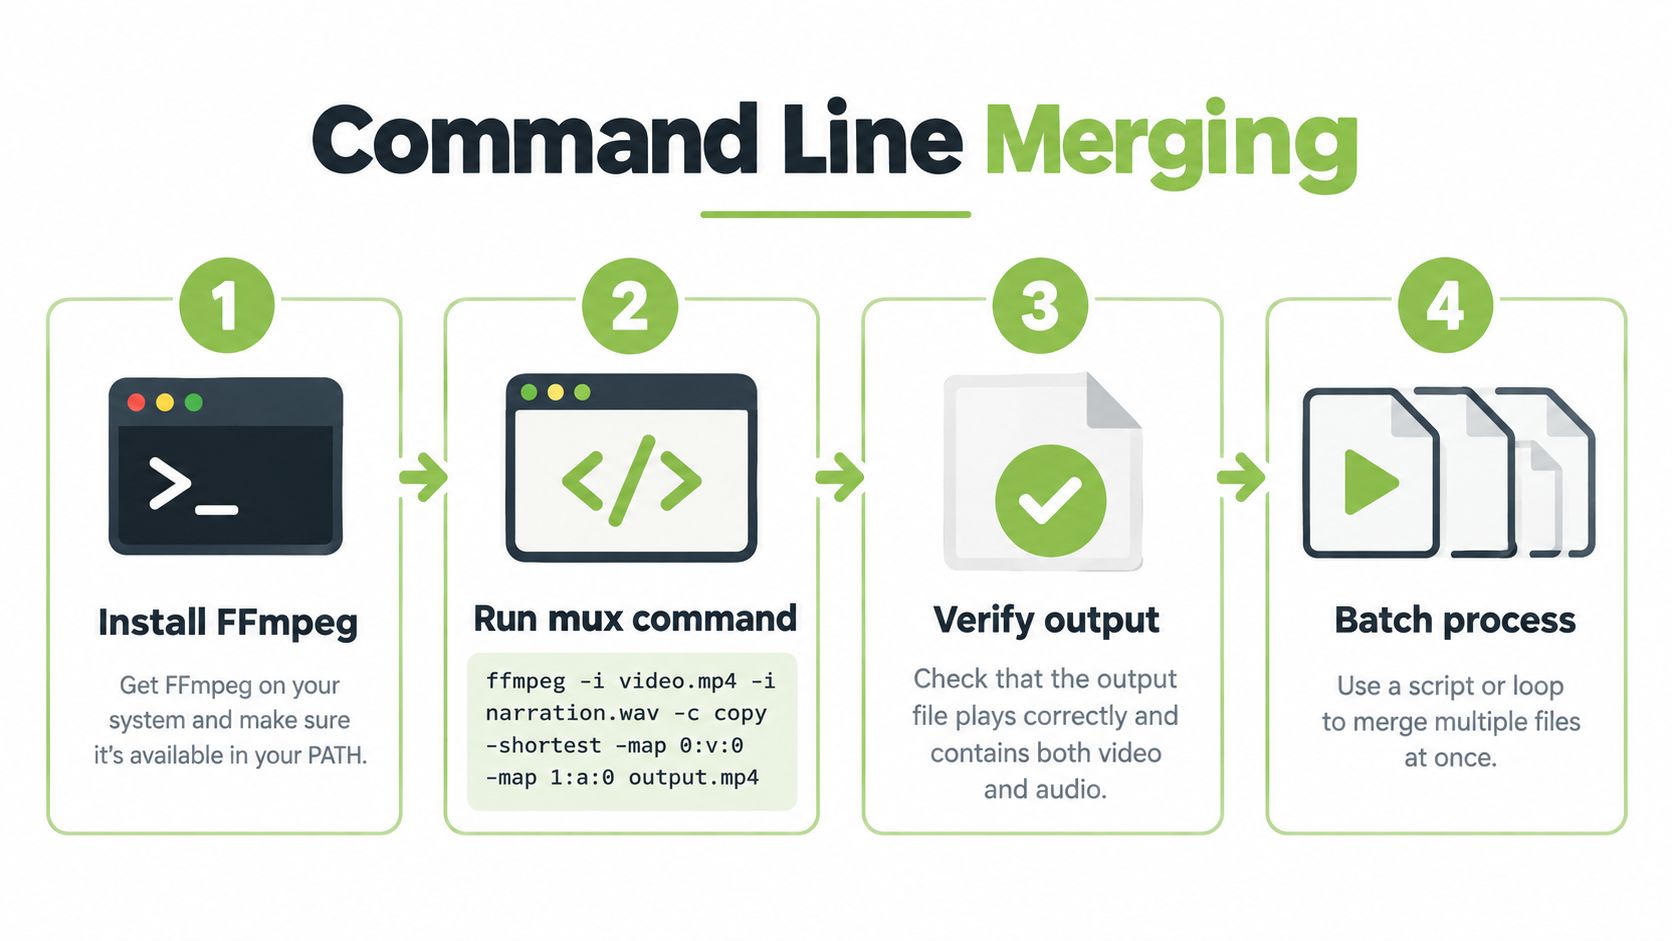
The fast mux command
Start with the lossless-style mux pattern:
Each flag does real work.
and load the two inputs in a fixed order.
tells ffmpeg to copy streams without re-encoding where possible.
stops output when the shorter input ends, which protects you from a long tail of useless silence.
explicitly selects the first video stream from the first input.
explicitly selects the first audio stream from the second input.
That behaviour matters. If you let ffmpeg guess, it may keep the original camera audio, add the wrong stream, or produce a file whose “default” audio isn't the one the player picks.
When simple muxing fails
Real jobs drift. The narration starts late. Two mics need blending. A gap opens after an edit.
Use when that happens.
blends multiple audio sources into one mixed result.
pushes a track later by a precise amount when speech lands before lip movement.
fills a too-short audio bed so the export doesn't cut out awkwardly.
Bench advice: Run a dry on both inputs before you merge anything. It's the quickest way to spot mismatched audio characteristics and avoid trusting a sync result that was wrong from the start.
Practical command-line habits
Keep the source narration as PCM WAV where possible. If you feed ffmpeg an already compressed file and then compress again for LMS delivery, quality drops faster than expected on spoken-word material.
If the LMS rejects uncompressed audio, route the output through an AAC encode step instead of fighting the platform. And if you're scripting this for repeat jobs, build verification into the script, not just the export command. A generated file that exists isn't proof that the active audio stream is the right one.
Sync, Codecs, and Export Settings That Hold Up
A merge can look fine on the editor's timeline and still fail the job. The usual breakpoints are sync drift, a codec the LMS player refuses, or an export setting that strips the wrong audio behaviour into the final file. In regulated or institution-facing delivery, this is a QA problem before it is a file-joining problem.
The sync tolerances that matter
Broadcaster tolerances show how little error it takes before viewers notice. ITV's 2025 programme specification requires sound-to-vision synchronisation with no perceptible error, and says sound must not lead or lag picture by more than 5 ms in that delivery context, with a sync plop placed at 09:59:57:06 to 09:59:57:08 and the audio plop synchronous to the flash within ±5 ms. It also specifies 48 kHz, 24-bit PCM for the plop audio in its technical delivery guidance as cited in this reference set's broadcast sync specification link.
University and publisher workflows are usually less strict, but the practical lesson is the same. Set one sample rate across the project, check sync on ingest, and re-check after export. A file that plays is not automatically a file that is in sync.
That second check gets skipped too often.
The common failure pattern is simple. Camera audio is recorded one way, narration arrives another way, the editor fixes it by eye, and the export introduces a small offset or drift that only shows up in the browser player. Speech content makes this obvious fast, which is one reason lecture capture and training video need a stricter review pass than many teams expect.
Container and codec choices for common delivery targets
Container choice affects whether the file opens. Codec choice affects whether it decodes reliably, scrubs cleanly, and survives another transcode later.
For routine browser and LMS delivery, MP4 with H.264 video and AAC audio is still the safest baseline. It is not the most elegant option for every workflow, but it causes the fewest support tickets across mixed devices and managed institutional environments. For handoff to another editor, MOV with PCM audio is often the better working file because it avoids unnecessary audio recompression. For archive or preservation copies, teams often keep a less delivery-friendly file if it retains cleaner source characteristics.
See MEDIAL's guide to video file formats for container and codec choices.
Delivery Target | Container | Video Codec | Audio Codec | Notes |
|---|---|---|---|---|
LMS upload for teaching | MP4 | H.264 | AAC | Safest general choice for browser playback and institutional platforms |
Editorial handoff | MOV | Edit-friendly source or mezzanine codec | PCM | Better when another editor still needs to work on the file |
Archive copy | MKV or MOV | Keep source-friendly choice | PCM | Useful when you want fewer playback compromises and stronger preservation options |
Regulated publish path with extra tracks | MP4 or platform-specific package | H.264 | AAC plus managed accessibility assets | Check whether the player accepts sidecar captions or selectable extra audio |
What tends to go wrong
The repeat offenders are predictable:
HEVC in the wrong playback environment: some browsers, older managed laptops, and locked-down classroom machines still handle it badly.
Odd audio inside MP4: unsupported or poorly supported audio streams may import, then fail at playback or after upload.
Legacy broadcast or DVD-era audio: AC-3 and similar formats often need a clean re-encode before an LMS or web platform will treat them properly.
Mixed sample rates: one source at one rate, another at a different rate, and the sync check passes at the head but fails later in the programme.
Use one house export preset for routine teaching and publisher delivery, then verify the result in the player your audience will use. That last step catches the failures the timeline does not show.
Accessibility and QA After the Merge
A merged file can look fine in the timeline and still fail the delivery check. I see this often with lecture captures and webinar replays. The edit is done, but the captions are late, the transcript no longer matches the final cut, or the LMS player handles the accessibility assets differently from the editor preview.
Accessibility work starts as soon as picture and sound are joined. For a full workflow, see how to make videos accessible.
The Home Office guidance is practical here. Accessible video or audio should include a transcript, captions for video, and audio description when important visual information is present. It also says captions must be synchronised with the audio, identify who is speaking, include important sounds as well as speech, and that auto-generated captions should be checked for accuracy in its guidance on providing alternatives for audio and video.
That changes the job after export. Captions are not a bolt-on admin task. They are part of the deliverable, and they need version control just like the media file.
Jisc notes that the UK Public Sector Bodies Accessibility Regulations apply to audio and video recordings made available from 23 September 2020, that the rules apply to pre-recorded rather than live content, and that captions may be added within up to 14 days after publication in its guide on video captioning and accessibility regulations.
For education teams, that usually means:
Publish the merged video on time if teaching deadlines require it.
Start captions immediately through the platform or by uploading a prepared file.
Review the caption output against the final cut while you are still inside the allowed correction window.
Export or attach a transcript where the course, publisher, or department expects one.
Check whether visual-only meaning needs audio description or a spoken explanation added back into the edit.
Auto-captions save time, but they are weak in the places institutions get complaints about. Speaker changes, names, module codes, legal terms, and subject vocabulary are common failure points. The wording can be nearly right and still be unusable because the wrong speaker is tagged or an important non-speech sound is missing.
Run QA in the delivery player, not just in the edit system.
Open the final upload on a second account. Turn captions on. Download the transcript if the platform offers one. Check that captions appear at the right time, speaker labels are clear, and any alternate audio track is selectable and audible. This is the step that catches the failure nobody saw in the NLE.
If your workflow uses sidecar SRT or WebVTT files, store them against the exact exported version. Even a small trim at the head can throw every caption out of sync. In regulated or high-volume publishing, that is a QA miss, not a minor tidy-up.
Troubleshooting the Most Common Failures
Most broken merges fail in familiar ways. The useful habit is to diagnose by symptom, not by tool. Premiere, ffmpeg, Panopto, and browser editors all produce the same classes of failure when the underlying media is off.
Six failures worth checking first
Gradual drift: The sync starts fine, then speech slips later in the programme. Cause: The timeline or source frame-rate assumptions don't match. Fix: Set the project frame rate before import, then rebuild the alignment rather than nudging clips every few minutes.
Thin or hollow voice: The speaker sounds weaker after you layered a second mic. Cause: Phase interaction between two recordings of the same voice. Fix: Duck or mute the bed track, then compare in headphones before exporting again.
Silent playback after upload: The file has audio in the editor but not in the LMS player. Cause: The player selected the wrong stream or ignored the added track. Fix: Re-mux with explicit stream mapping so the intended audio is the active stream.
Device and platform failures
A different group of faults appears only after distribution.
Failure | Likely cause | Immediate fix |
|---|---|---|
File rejected by the LMS | Container or codec combination isn't accepted | Re-encode to H.264 video and AAC audio in MP4 |
No audio on mobile playback | The file structure isn't optimised for streaming start | Re-export with fast-start style optimisation in your encoder |
Captions lag the rebuilt edit | The caption file belongs to an earlier cut | Regenerate or retime captions from the final export |
The accessibility quality check
Norfolk County Council's guidance is a good practical checklist for the last pass. It says captions should accurately reflect the video audio, include all speech and important sounds in brackets, use correct spelling and punctuation, appear roughly at the same time as the audio, stay visible for at least one second, and not hide important visuals in its guidance on captions for video.
That's the level to aim for in routine educational publishing too. If you only check whether the file opens, you'll miss the failures learners notice.
One clean rule saves time: always QA on the destination player, on a second device, with headphones. Local preview is not delivery proof.
If you're handling this inside an LMS, MEDIAL gives teams an in-browser way to trim, export, caption, and manage video and audio without forcing every lecturer or trainer into a desktop edit suite. That's useful when the job isn't just to merge files, but to get a checked, accessible version back into teaching or training systems with less friction.
Comments