A Guide to Course Instructional Design
- MEDIAL

- Dec 17, 2025
- 18 min read
Course instructional design is the art of building effective and engaging learning experiences. Think of it as the blueprint for education—a deliberate plan that turns raw information into a structured journey, guiding learners toward real skill mastery and knowledge they'll actually remember.
What Is Course Instructional design

Imagine trying to build a house without a blueprint. You could have the best materials—strong bricks, sturdy timber, and clear windows—but without a plan, you'd end up with a chaotic, unstable mess. Course instructional design is that essential blueprint for learning. It’s the art and science behind creating educational experiences that genuinely work.
This isn’t about just dumping information onto slides. It’s a disciplined approach that starts by figuring out who the learners are, defining what they need to achieve, and then carefully choosing the right content, activities, and assessments to guide them there.
Beyond Content Delivery
The real goal of instructional design is to move past simple information delivery. A well-designed course doesn't just present facts; it creates an environment where learning feels intuitive, engaging, and memorable. It forces you to answer the tough questions before a single module gets built:
Who is the audience? A course for new corporate hires needs a quick, practical tone, whereas one for university students can be more theoretical and in-depth. Actionable insight: Create a simple 'learner persona'—a one-paragraph description of your ideal learner, including their current skills, their goals, and their time constraints.
What is the goal? What should learners be able to do after they finish the course? For example, instead of "understand social media," a better goal is "create a one-month content calendar for Instagram."
How will we measure success? How will we know if they’ve actually learned anything? Will it be a final project, a quiz, or a real-world task?
Focusing on these questions transforms a collection of topics into a powerful engine for real-world results. This systematic approach is more important than ever. The online education and training industry in the UK is projected to hit £5.0 billion in 2025, a boom accelerated by the massive shift to digital learning.
The Role of the Designer
An instructional designer is the architect of the learning journey. They act as the bridge between the subject matter expert (SME), who has all the knowledge, and the learner, who needs to absorb it. Their toolkit is packed with principles from adult learning theory, multimedia production, and smart assessment strategies.
Instructional design is the deliberate act of making the complex simple, the confusing clear, and the abstract concrete. It ensures that every element of a course serves a distinct purpose in guiding the learner toward mastery.
For example, instead of a long, passive one-hour video lecture on sales techniques, a designer might break it into three 5-minute videos. The first explains a technique, the second shows it in a role-play scenario, and the third challenges the learner to write down how they would use it. This simple change respects learners' attention spans and reinforces key concepts right away. For a deeper dive into creating great digital learning experiences, check out this practical guide on instructional design for online courses.
Exploring Core Instructional Design Models
Think of an architect designing a building. They don't just start laying bricks; they use proven blueprints and principles to make sure the structure is sound, functional, and safe. Instructional designers work in a similar way, using established models to build effective learning experiences.
These frameworks aren't rigid, unbreakable rules. Instead, they're flexible guides that help ensure a course is logical, focused on the learner, and actually achieves its goals. Getting to know these core models is a huge step toward mastering course design.
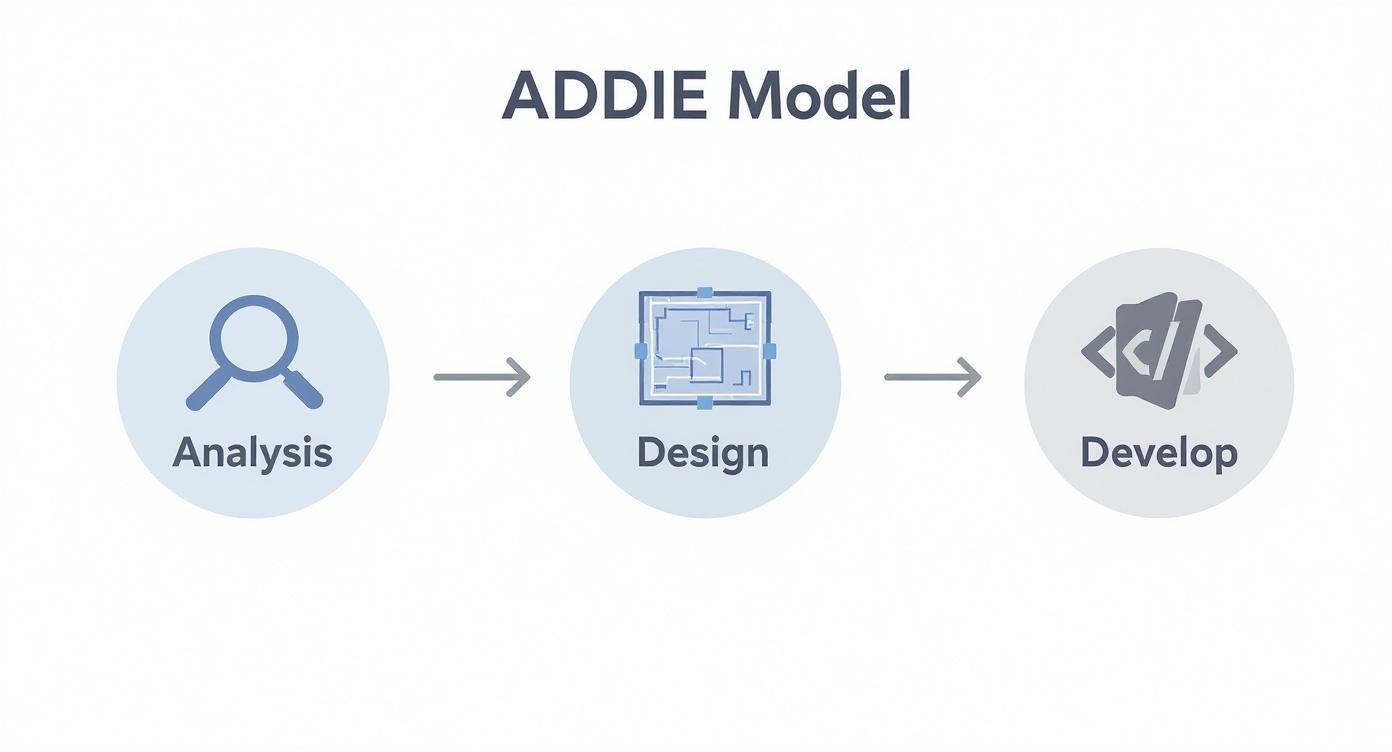
The most recognised framework out there is probably the ADDIE model. It’s a simple, five-phase process that gives you a clear roadmap for developing almost any kind of training, from a quick safety briefing to a full university module. It’s the reliable foundation many designers still turn to first.
The ADDIE Model: A Phased Approach
ADDIE is an acronym for the five sequential stages of the development process: Analysis, Design, Development, Implementation, and Evaluation. Each step has a distinct purpose, and the output of one phase feeds directly into the next. This creates a really systematic workflow that helps you avoid missing crucial details and keeps the project on track.
Here’s a great visual of how ADDIE works as a cycle.
This diagram shows how each phase flows into the next, creating a continuous loop of improvement. You don’t just launch a course and forget it; you evaluate and refine.
Let’s break down what each phase looks like in the real world:
Analysis: This is your detective work. You’re figuring out who your learners are, what they already know, and what they absolutely need to be able to do. Practical example: A corporate trainer building a cybersecurity course might analyse helpdesk tickets to find the most common employee security mistakes and survey employees to gauge their existing knowledge.
Design: Time to draw up the blueprint. Here, you'll write crystal-clear learning objectives, figure out your assessment strategy, and outline the entire course structure. Practical example: Based on the analysis, the trainer decides on three modules: Phishing Scams, Password Security, and Safe Browsing. Each module will have a short video, a quiz, and a "what would you do?" scenario.
Development: Now you get to build everything. This is where you write the scripts, record the videos, create the graphics, and pull it all together inside your Learning Management System (LMS).
Implementation: The course goes live! You roll out the training to your learners. Actionable insight: Implement in a pilot phase first. Roll the course out to a small group of learners and gather feedback before launching to the entire company.
Evaluation: The final, crucial step is measuring how well it all worked. Did learners actually achieve the objectives? Practical example: The trainer checks quiz scores but also looks at helpdesk tickets six months later to see if reports of phishing attacks have decreased.
Gagne’s Nine Events of Instruction
While ADDIE gives you the big-picture structure, other models offer a more granular, moment-to-moment guide for keeping learners hooked. Robert Gagne’s Nine Events of Instruction is a perfect example of this.
It lays out a sequence of actions that every lesson should ideally follow to support the learning process. Think of it less like a project plan and more like a recipe for a single, powerful learning module.
Here’s how a teacher might use Gagne's events for a history lesson:
Gain Attention: Start with a poll: "What everyday invention do you think had the biggest impact on the 20th century?"
Inform Learners of Objectives: Be direct. "By the end of this lesson, you'll be able to explain three causes of the Industrial Revolution."
Stimulate Recall: Ask, "What was life like for most people before factories? Let's brainstorm."
Present the Content: Deliver the information using a mix of short videos, primary source documents, and clear diagrams.
Provide Guidance: Hand out a worksheet with a timeline template that helps students organise the key events and inventions.
Elicit Performance: Get them doing something. Have students work in small groups to debate the main causes.
Provide Feedback: Check in on each group's discussion, offering gentle corrections and praise.
Assess Performance: Use a quick quiz where students match an invention to its societal impact.
Enhance Retention: Assign a small project where students have to connect the lesson to modern-day technology.
This model is incredibly practical. It shifts the focus from just presenting information to actively guiding learners through the material, ensuring no critical learning step gets missed.
Merrill's Principles of Instruction
Another fantastic framework comes from M. David Merrill. He analysed dozens of instructional theories and boiled them down into five core principles that are present in nearly every successful learning experience.
Merrill's model isn't a sequence of steps; it's more like a set of essential ingredients you need to include.
The five principles are:
Problem-Centred: People learn best when they're trying to solve real-world problems. Example: Instead of a lesson on grammar rules, start with a poorly written email and ask learners to fix it.
Activation: Learning clicks when you connect new information to what the learner already knows.
Demonstration: Don't just tell—show. Learning is boosted when new knowledge is demonstrated.
Application: Give learners a chance to apply their new knowledge and skills.
Integration: Help learners see how they can integrate what they’ve learned into their everyday lives and work.
These models aren't mutually exclusive. In fact, they work best together. A sharp instructional designer might use the ADDIE framework to manage the entire project, while weaving Gagne’s Nine Events and Merrill’s Principles into the design of each individual lesson.
To make this clearer, let's compare these popular models side-by-side.
Comparing Key Instructional Design Models
This table breaks down the main focus of each model and where they shine, giving you a quick reference for deciding which one (or which combination) is right for your project.
Model | Primary Focus | Best For |
|---|---|---|
ADDIE | A comprehensive, systematic process for the entire project lifecycle. | Managing the development of large-scale courses or training programmes from start to finish. |
Gagne’s Nine Events | A step-by-step guide for structuring a single engaging lesson or learning module. | Designing individual class sessions, video tutorials, or e-learning modules to maximise learning. |
Merrill’s Principles | A set of core, problem-based principles that should be present in any learning experience. | Ensuring that course activities are grounded in real-world application and problem-solving. |
Ultimately, understanding these frameworks gives you a powerful toolkit. You can mix and match them to create learning experiences that are not only well-structured but also genuinely effective and engaging for your audience.
Your Step-by-Step Course Creation Process
Moving from established models to actually building a course is where the real magic happens. This is your roadmap for turning a great idea into a tangible, effective learning experience. By following a structured process, you can make sure every element of your course is purposeful and designed for impact.
This five-step process offers a clear path, taking you from the initial concept all the way to a polished, ready-to-launch course.
Step 1: Pinpoint Your Learner and Define Outcomes
Before you write a single word of content, you have to know exactly who you're teaching and what you want them to achieve. This is the bedrock of all good course design. A great way to start is by creating a simple "learner persona," which is just a semi-fictional sketch of your ideal student.
For instance, a corporate trainer might picture their learner as: "Priya, a newly promoted sales manager. She has five years of experience as a rep but no formal management training. She's tech-savvy but short on time and needs practical strategies she can use immediately."
Once you have a clear picture of your audience, you can write solid learning outcomes. The best outcomes are SMART: Specific, Measurable, Achievable, Relevant, and Time-bound.
Weak Outcome: "Learners will understand project management."
SMART Outcome: "By the end of this two-hour module, learners will be able to create a project charter for a small-scale project using our company's standard template."
Getting this right from the start guides every other decision you'll make.
Step 2: Blueprint Your Course Content
With your outcomes defined, it’s time to start structuring the content. Think of this as creating an architectural blueprint for your course. Two really effective techniques for this are storyboarding and module mapping.
A storyboard is a visual outline that plans out the sequence of your content, almost like a comic strip for your course. It helps you see the flow and spot any gaps before you get too deep into building. For a short video, a storyboard might include a quick sketch of the visual, the on-screen text, and the key talking points for each scene.
Module mapping is all about breaking your course into logical chunks, or modules. Each module should tackle just one or two related learning outcomes. This "chunking" makes the material much easier for learners to digest and helps prevent them from feeling overwhelmed.
This diagram shows a simplified flow of these initial stages, which lines up nicely with the Analysis, Design, and Develop phases of the ADDIE model.
This visual just reinforces how a systematic approach—from analysis to development—is the key to a cohesive and logical course structure.
Step 3: Develop Engaging Learning Activities
Passive learning is a recipe for poor retention. To create a course that sticks, you need to get your learners actively involved. This means going beyond plain text and simple lectures to build in interactive elements that challenge and engage.
Here are a few practical ideas to get you started:
Interactive Quizzes: Instead of a basic multiple-choice quiz, try using scenario-based questions that force learners to apply what they know to a realistic situation. Example: "A customer complains about X. Do you A, B, or C? Explain your choice."
Case Studies: Present a real-world problem and ask learners to analyse it and propose a solution. This is fantastic for developing critical thinking and problem-solving skills.
Short Videos: Create brief, focused videos—3-5 minutes is the sweet spot—that explain a single concept or demonstrate a specific task. For more guidance, check out our guide on training employees online for tips on making your video content pop.
Step 4: Choose the Right Assessment Strategy
How will you actually know if your learners have mastered the outcomes? That's where your assessment strategy comes in. It's vital to use a mix of both formative and summative assessments.
Formative assessment is 'feedback for learning.' It happens during the course and helps both learners and instructors check understanding along the way. Think of quick knowledge checks, reflective journals, or peer discussions.
Summative assessment is 'feedback of learning.' It happens at the end of a module or course to measure overall mastery. This includes things like final exams, major projects, or certification tests.
For example, a formative assessment might be a short, ungraded quiz after a video asking learners to "drag and drop the steps of the process into the correct order." A summative assessment could be a final project where the learner has to build a complete project charter, graded against a clear rubric.
Step 5: Plan for Continuous Improvement
Your course is a living document, not a static product. The final, ongoing step is to gather feedback and use it to make your course even better over time.
In the UK, well-structured online courses achieve completion rates between 12% and 15%, a significant jump from the 4% to 9% often seen in traditional settings. That difference really shows how multimedia, self-paced modules, and interactive assessments can boost motivation and retention.
To gather your own data, you can use simple tools:
End-of-course surveys: Ask specific questions like, "Which activity was most helpful for your learning, and why?" and "Which part of the course felt unclear or confusing?"
LMS analytics: Dive into the data on quiz scores, video views, and time spent on activities. This can help you spot areas where learners might be getting stuck.
Direct feedback: If you can, have a quick chat with a few learners to get more detailed, personal insights.
By embracing this cycle of feedback and revision, you ensure your course stays relevant, effective, and valuable to your audience.
Aligning Objectives, Activities, and Assessments
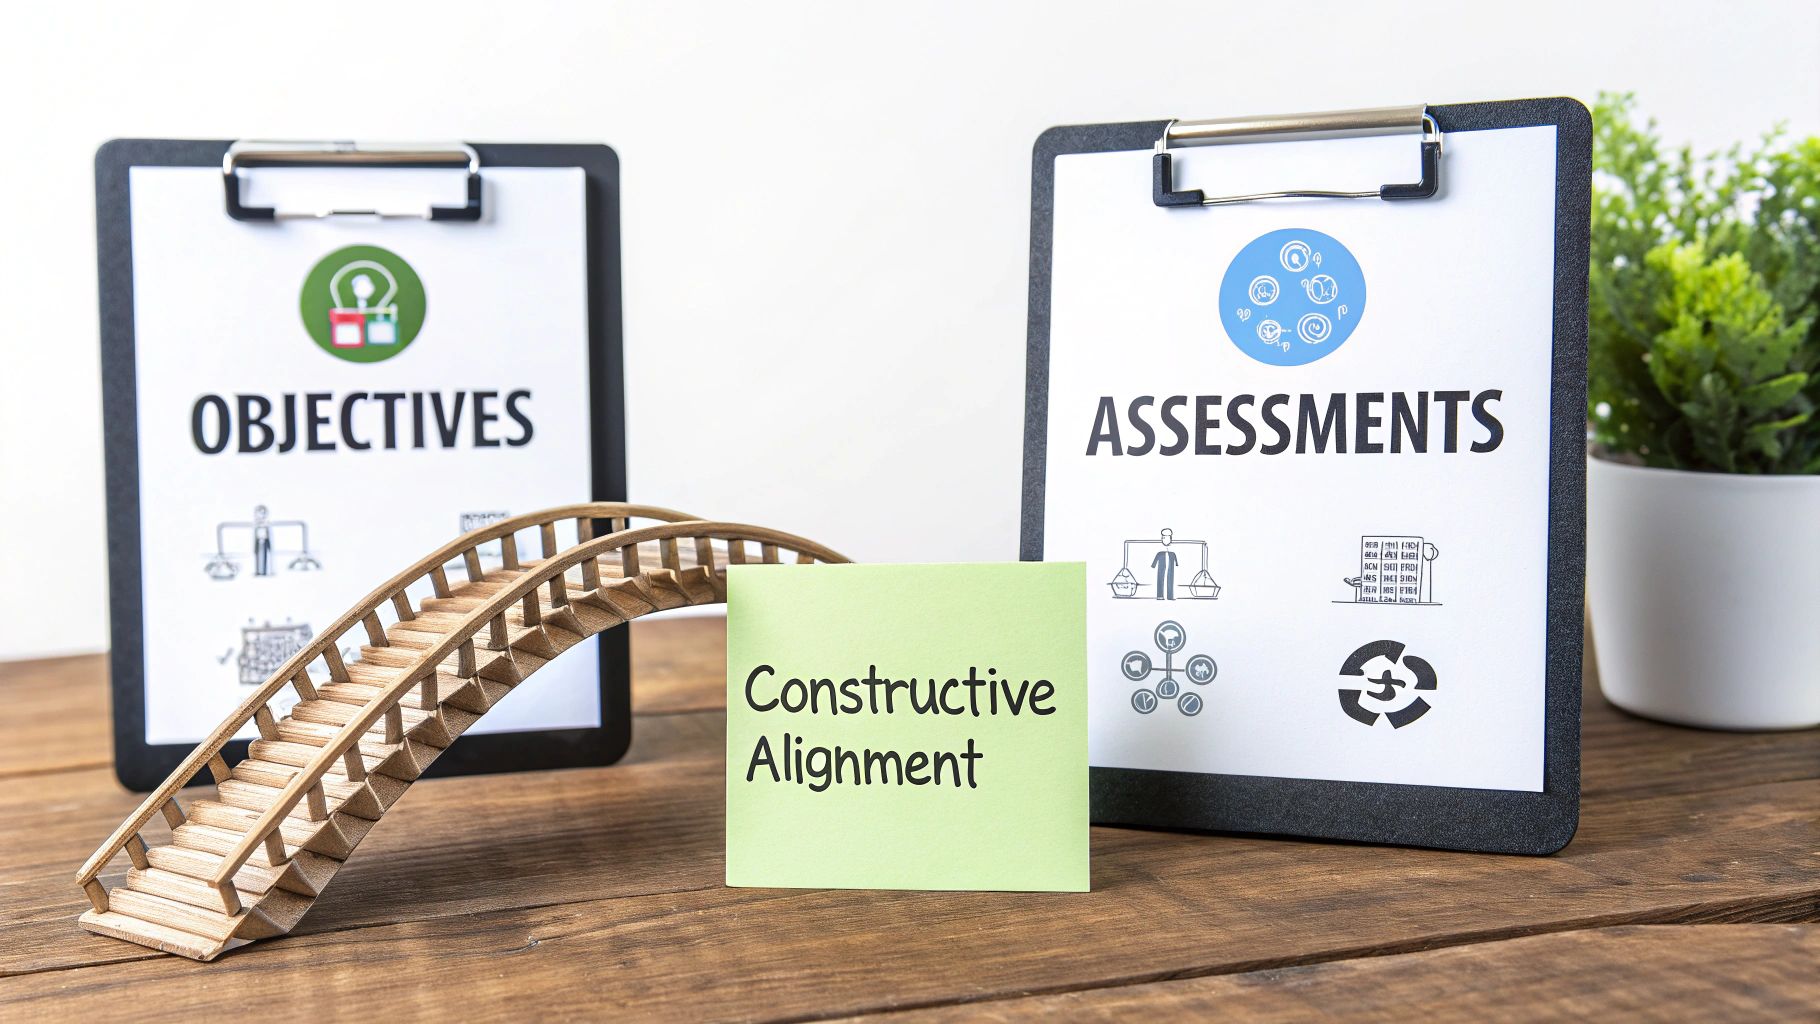
One of the most powerful ideas in course instructional design is something called constructive alignment. It might sound a bit academic, but it’s the secret ingredient behind courses where everything just clicks for the learner.
Think of it like building a bridge. On one side of a canyon, you have your learning objectives—what you want your students to be able to do. On the other side are your assessments, which prove they can actually do it. Your learning activities are the bridge itself, carefully constructed to get them from one side to the other.
If any of those three core pieces are out of sync, the bridge is wobbly at best. Learners get stuck, confused about why they're doing a certain activity or how it connects to the final test.
The Three Pillars of Alignment
At its heart, constructive alignment is just a commonsense approach: make sure everything a learner does is directly aimed at hitting the learning goals. It forces you to build your course with intention, where every single video, quiz, and discussion has a clear job to do.
The whole process starts with the end in mind. It follows a simple, logical order:
Define the Learning Objectives: First, be crystal clear about what learners should be able to do. Use action verbs like create, analyse, apply, evaluate.
Design the Assessment: Next, figure out the single best way to prove they can do that action. If the verb is "create," the assessment should involve creating something.
Create the Learning Activities: Finally, design the activities that will give them the knowledge and practice they need to ace that assessment.
This way, there are no nasty surprises. Students know exactly what’s expected of them, and every activity feels relevant and purposeful.
Bringing Alignment to Life
Let's make this real. Imagine you're designing a training module for new managers on how to give effective feedback.
A misaligned approach might have an objective like "Understand the principles of good feedback." The activity might be a lecture, and the assessment is a multiple-choice quiz on feedback theories. The problem? The quiz only tests if they remember the theory, not if they can actually give feedback.
Now, let's try it with constructive alignment.
Objective: The learner will be able to deliver constructive feedback to a direct report using the Situation-Behaviour-Impact (SBI) model.
Assessment: The learner will record a short video of themselves role-playing a feedback conversation based on a scenario we provide.
Activities: We’ll give them a short video explaining the SBI model, a downloadable checklist for prepping their feedback, and a practice exercise where they write out SBI statements for different situations.
This aligned approach is so effective because it connects every part of the learning journey. The activities directly prepare the learner for the assessment, which in turn directly measures the objective.
This method also opens the door to more authentic and engaging ways to evaluate skills. As we explore in our guide, video assignment submissions are the future of student assessment, because they allow you to see skills in action rather than just testing theory.
A Practical Alignment Template
To make this process even easier, you can use a simple alignment table when mapping out your course. It's a great little tool for visualising the connections between your objectives, activities, and assessments for each part of your course.
Here is a fill-in-the-blank template to get you started:
Learning Objective | Learning Activities | Assessment |
|---|---|---|
Learner will be able to... | Learners will... | Learner will demonstrate mastery by... |
e.g., Analyse a project budget for potential risks. | 1. Watch a video explaining common budget pitfalls. 2. Review two sample budgets (one good, one bad). | Submitting a one-page report identifying and explaining three potential risks in a new sample budget. |
Using a simple tool like this turns an abstract concept into a practical, repeatable process. It's the most reliable way to ensure your instructional design builds a sturdy bridge to learning, helping every student get safely to the other side.
Using Technology to Enhance Learning
Technology in course design can feel like a double-edged sword. When you get it right, it creates dynamic, memorable learning experiences that stick. But when used poorly, it quickly becomes an expensive distraction. The secret is making sure every tool and piece of media serves a clear learning objective, rather than just being there for show.
One of the most common missteps is the long, rambling "talking head" video. Let's be honest, learners rarely have the attention span for a 30-minute monologue. A much better strategy is chunking: breaking down big topics into a series of short, sharp micro-videos, each lasting just three to five minutes.
This simple tweak respects your learner's time and genuinely helps them remember more. After each short video, you can drop in a quick interactive element—like an in-video quiz or a reflective question—to pull them back in and turn passive viewing into active learning.
Choosing Your Authoring Tools
The market for course creation software is massive, but you don't need a huge budget to get started. Your choice really comes down to your technical comfort level and how complex your course needs to be. Many of the best designers I know mix and match tools to get the job done.
Free and Accessible Options: Tools like Canva and PowerPoint are surprisingly powerful for creating slick presentations, job aids, and even simple interactive graphics. They're perfect if you're just starting out.
Professional eLearning Software: When you need more firepower—like complex interactivity, branching scenarios, or software simulations—the industry standards are tools like Articulate Storyline or Adobe Captivate.
Whichever tools you land on, the core principles of good design don't change. Clear visuals, a logical flow, and activities built for the learner are what truly make a course work.
Making Learning Interactive and Immersive
Beyond the standard tools, new technologies are opening up some really exciting possibilities for engagement. For a glimpse into the future, it's worth understanding what is immersive learning and how AR/VR can place learners in incredibly realistic, simulated environments for hands-on practice.
But you don't have to go that high-tech to be interactive. Simple techniques can make a world of difference. For example, instead of just presenting a case study as a wall of text, why not build it as a simple "choose your own adventure" scenario in your LMS where learner decisions lead to different outcomes?
The goal of technology is not to replace the instructor but to amplify their impact. Effective tools empower learners to explore, practise, and apply their knowledge in ways that a static document never could.
Accessibility and Video Platforms
One of the most critical parts of using technology is making sure your content is accessible to everyone. This isn’t just a nice-to-have; it's a fundamental part of inclusive design. Actionable insight: Always provide accurate, human-reviewed closed captions for videos and include a full transcript as a downloadable document. This helps learners with hearing impairments, those in noisy environments, and non-native speakers.
Choosing the right video platform is also a huge piece of the puzzle, especially for managing and delivering multimedia inside an LMS. Our detailed guide on choosing your video platform for education can help you sort through the options.
Getting this right has a real impact. In the UK, about 45% of online learners are advanced professionals looking for certifications. An incredible 80% of them report getting a promotion or a new job within six months of finishing their course, showing just how powerful well-designed online learning can be.
Course Instructional Design in Action: A Case Study
Theory is one thing, but seeing how instructional design works in the real world is where it all clicks. Let's walk through a quick case study.
Imagine a fictional instructional designer, Sarah. Her company has noticed a slump in productivity and a spike in burnout since everyone started working remotely. This is where her course instructional design process begins—not with a topic, but with a real business problem that needs a solution.
Getting to the Root of the Problem
First things first, Sarah needs to figure out what's actually going on. She sends out a quick survey and has a few chats with team leads. It doesn't take long for the main issues to surface: people are battling constant digital distractions, the line between work and home has completely blurred, and they feel swamped by a lack of structure in their day.
Armed with this insight, she crafts a crystal-clear learning objective:
By the end of this 30-minute course, learners will be able to apply the Pomodoro Technique to structure their daily tasks, reducing distractions and improving focus.
This isn't just a vague goal. It’s specific, it's measurable, and it hits the problems she uncovered head-on. This objective now becomes the guiding star for the entire project.
Designing and Building the Experience
With her objective locked in, Sarah starts to blueprint the course. She maps out a simple learning journey, making sure every activity and the final assessment are tightly aligned with that one core goal. The whole thing is designed to be completed in a single, focused session.
Her plan has three key parts:
A 4-minute animated video: This will kick things off by explaining the 'why' behind the Pomodoro Technique, using simple visuals to show how it helps fight mental fatigue.
An interactive scenario: Here, learners face a typical remote workday. They'll have to make choices about handling pop-up distractions and get instant feedback on their decisions.
A downloadable checklist: A practical, one-page PDF they can print out and stick on their desk, guiding them through setting up their very first Pomodoro session.
This blend of content works well because it moves from explaining the idea, to showing it in action, and finally, to giving people a tool they can use immediately.
Checking for Understanding
So, how does Sarah know if anyone actually learned anything? She designs a simple, practical final task. Forget multiple-choice quizzes about the theory; this is all about application.
The assessment is straightforward: learners use the checklist she provided to plan the first three tasks of their next workday using the Pomodoro Technique. They then submit that short plan. This directly measures what she set out to teach—can they apply the technique?
By following a structured process, Sarah created much more than just a presentation. She built a focused experience that tackles a specific problem, teaches a practical fix, and confirms that people can actually use that fix in their jobs. The result is a short course that delivers real value to both the employees and the company.
Common Instructional Design Questions
As you get your hands dirty with instructional design, a few questions always seem to pop up. Let's be honest, we've all been there. Getting straight answers to these common hurdles can give you the confidence to keep your course design projects moving smoothly.
How Long Does Course Design Take?
This is the classic "how long is a piece of string?" question. While there's no single answer, a good rule of thumb in the industry is to budget 40-50 hours of development for every one hour of finished eLearning. That number covers the entire journey—from the initial analysis and design to creating the content and testing it all out.
Of course, a simple, text-heavy course might be on the lower end of that scale. But if you're planning something with custom videos, interactive elements, and branching scenarios, you can expect that number to climb much, much higher. The key is to remember that content writing is just one piece of the puzzle; every phase of the process needs its fair share of time.
What Are the Most Important Skills?
It’s easy to get lost in learning theories and design models, but the skills that really matter are much more human. At the end of the day, an instructional designer needs empathy, communication, and problem-solving skills above all else. These three pillars support everything you do.
Empathy is your secret weapon. It lets you step into your learners' shoes and truly understand what they need, what they're struggling with, and what will actually motivate them. Actionable Insight: Before you design, interview a few potential learners. Ask them: "What's the hardest part about [your topic]?" Their answers are gold.
Communication is absolutely vital. You'll need it to draw knowledge out of subject matter experts (SMEs) and to write content that is crystal clear and easy to follow.
Problem-solving is the heart of the job. You’re not just creating content; you’re solving a problem—be it a knowledge gap or a performance issue. Being able to analyse a challenge and architect a real solution is what separates the good from the great.
Ultimately, great instructional design is less about the tools you use and more about your ability to see the learning experience through the eyes of your audience and build a clear path to their success.
Can I Design a Course Without Expensive Software?
Absolutely. It’s a common misconception that you need a pricey subscription to something like Articulate Storyline to build a great course. The truth is, the quality of your design matters far more than the flashiness of your tools.
You can build a perfectly solid course using PowerPoint or Google Slides, as long as you're applying sound design principles, writing clear objectives, and creating activities that actually make people think. Tools like Canva are fantastic for creating professional-looking visuals without breaking the bank, and plenty of free platforms can handle simple quizzes and videos. Focus on strong instructional design principles first; the software is just the vehicle.
Ready to bring your courses to life with powerful, secure video? MEDIAL offers an AI-powered video platform that integrates seamlessly with your LMS, making it easy to create, manage, and deliver engaging multimedia content. Schedule a demo today and discover how you can elevate your training and educational programmes.
Comments